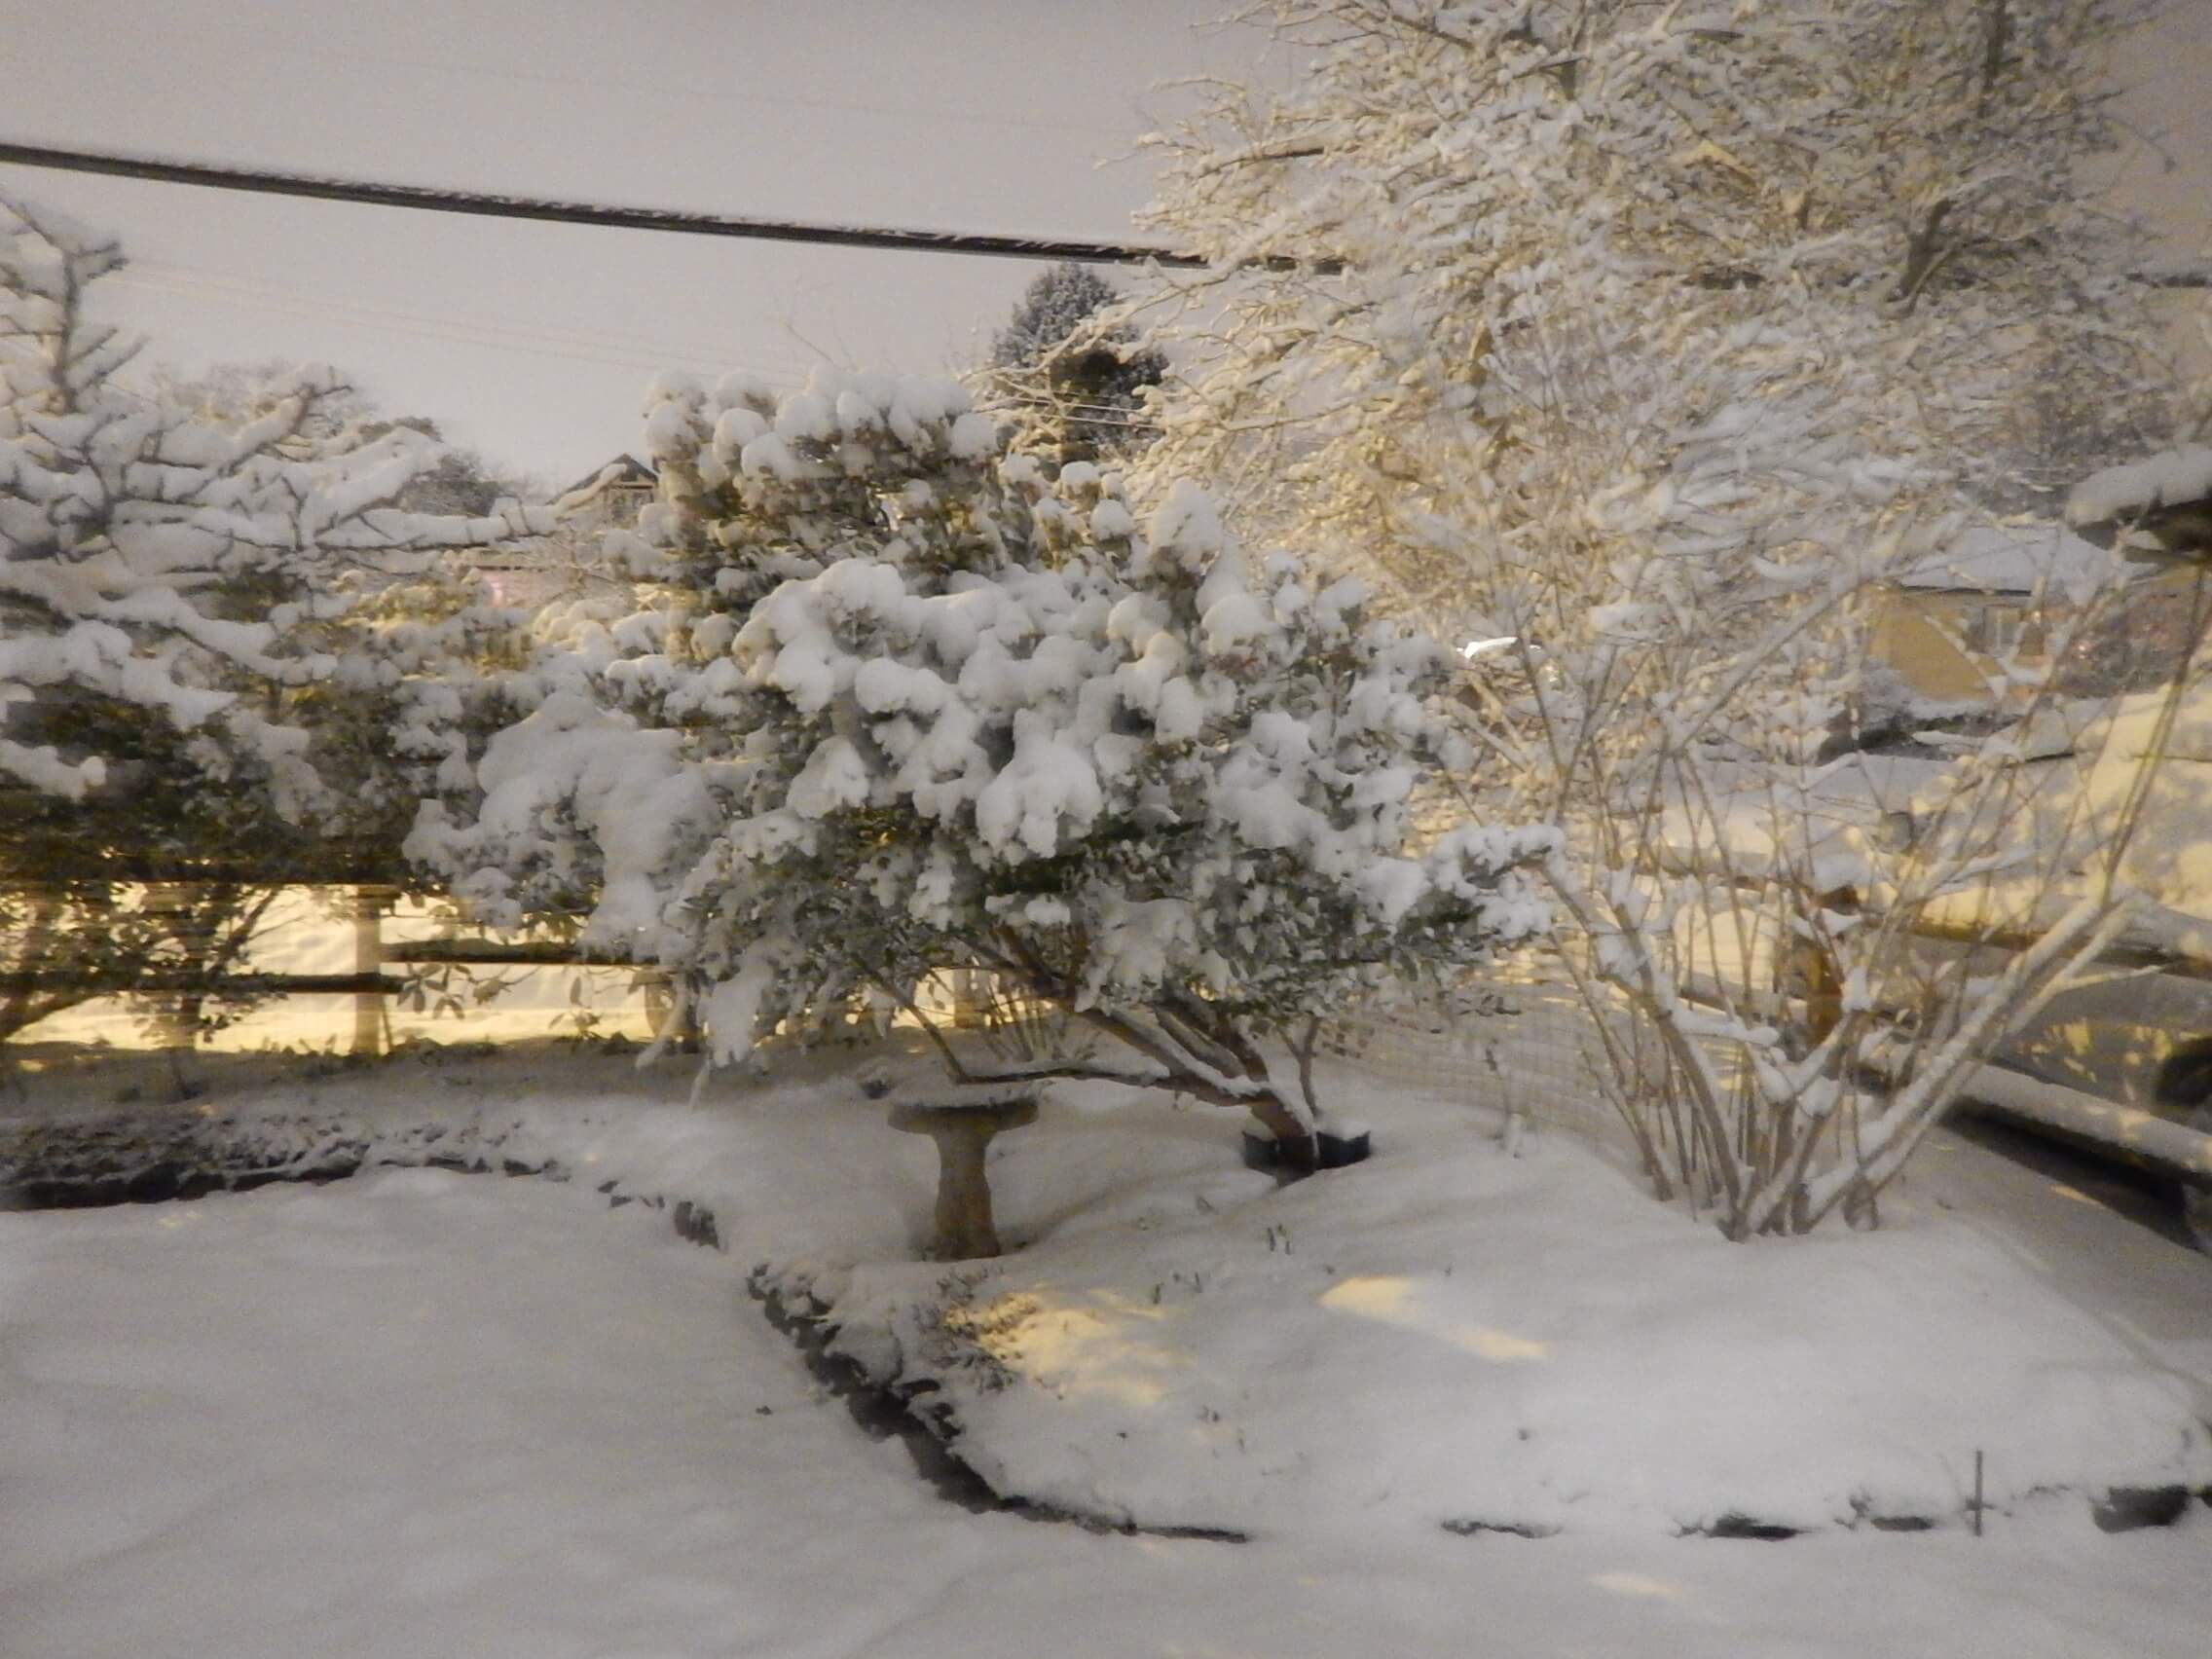
This is not normal for Victoria. The snow might be pretty but this is a rain-forest. We’re not set up for snow. Neither are our gardens.
photo by SVSeekins
Tonight’s concern is the snow load on the hedging. It’s amazing how flexible some branches can be as snow gathers & literally weighs them down. But some wood fibers are breaking as the branches bend. The sooner the weight is removed, the more likely a branch is to bounce back & resume its regular shape for good.
photo by SVSeekins
Out comes my trusty rake. Wielding it backward, I thrust the pole end into the lowest branches & give the shrub a light shake.
It’s best to start low & gradually work up. Release the load from lower branches before risking adding more to them with the snow falling off upper branches.
photo by SVSeekins
Once broken, there’s no mending a branch. All those years of growing into a full-sized shrub…
the lovely shape…
our increased privacy…
can be ruined overnight. Heart-wrenching.
photo by sVSeekins
Although hedgers like yew & cedar are especially susceptible, same goes for the broadleaf evergreens. Rhododendron.
Strawberry Tree.
Camellia.
Flower buds are already well-formed on the rhodos & camellia. So if I want many blooms this spring, it requires a delicate shake to remove the snow & only the snow.
After that, it’s good to head inside, dry off & treat myself to a hot chocolate (with Frangelico). After all, it’s a dark and snowy night…
“Danish Butter Cookies” is one of my favorite Christmas baking recipes*. I like to use it as a warm-up for some of the more serious baking.
photo by SVSeekins
YOU’LL NEED:
1 cup butter 1 cup sugar 1 egg 2 cups flour
TIP: The key to this recipe is to have the ingredients at cool room temperature.
If the butter is straight out of the fridge, it’s too cold. BUT too warm isn’t good either.
photo by SVSeekins
Forget about microwaving the butter for just a few seconds to take the chill out. The result is lovely, smooth dough which mushes into a mess in the oven.
I’ve learned to keep my hands out of the dough for the same reason.
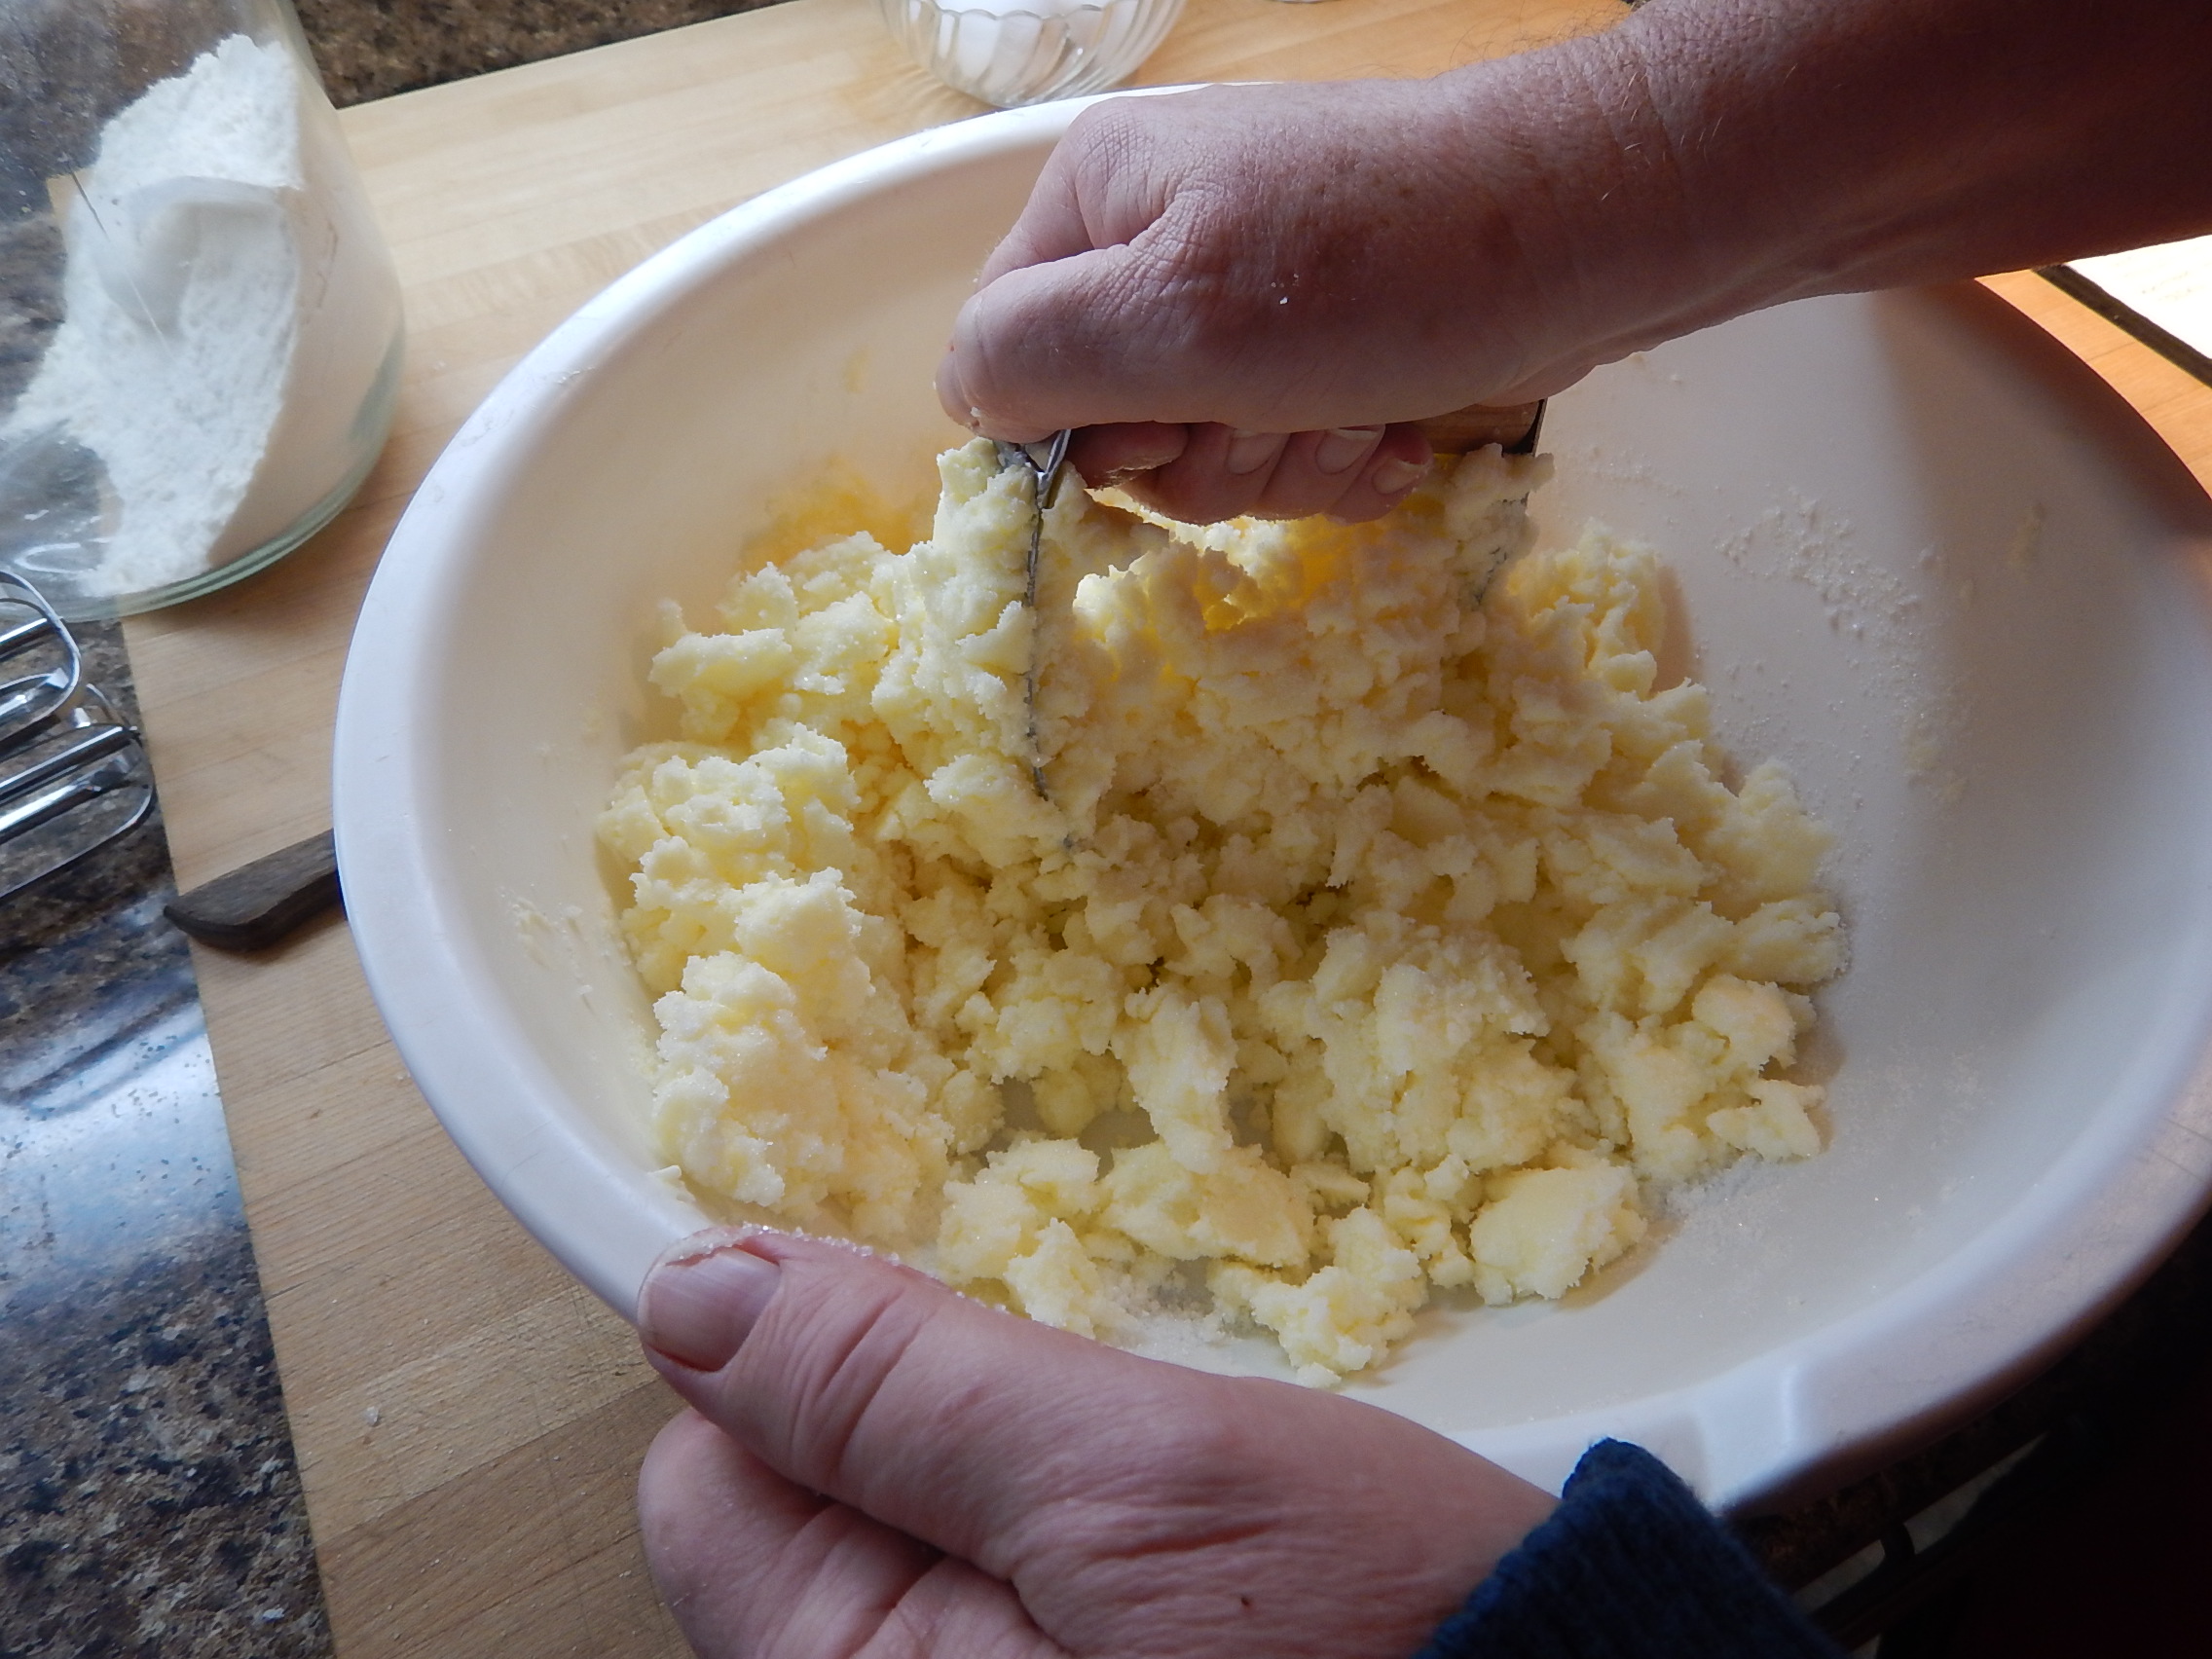
STEP ONE – Cut the butter into small pieces. Add the sugar. Mix well.
photo by SVSeekins
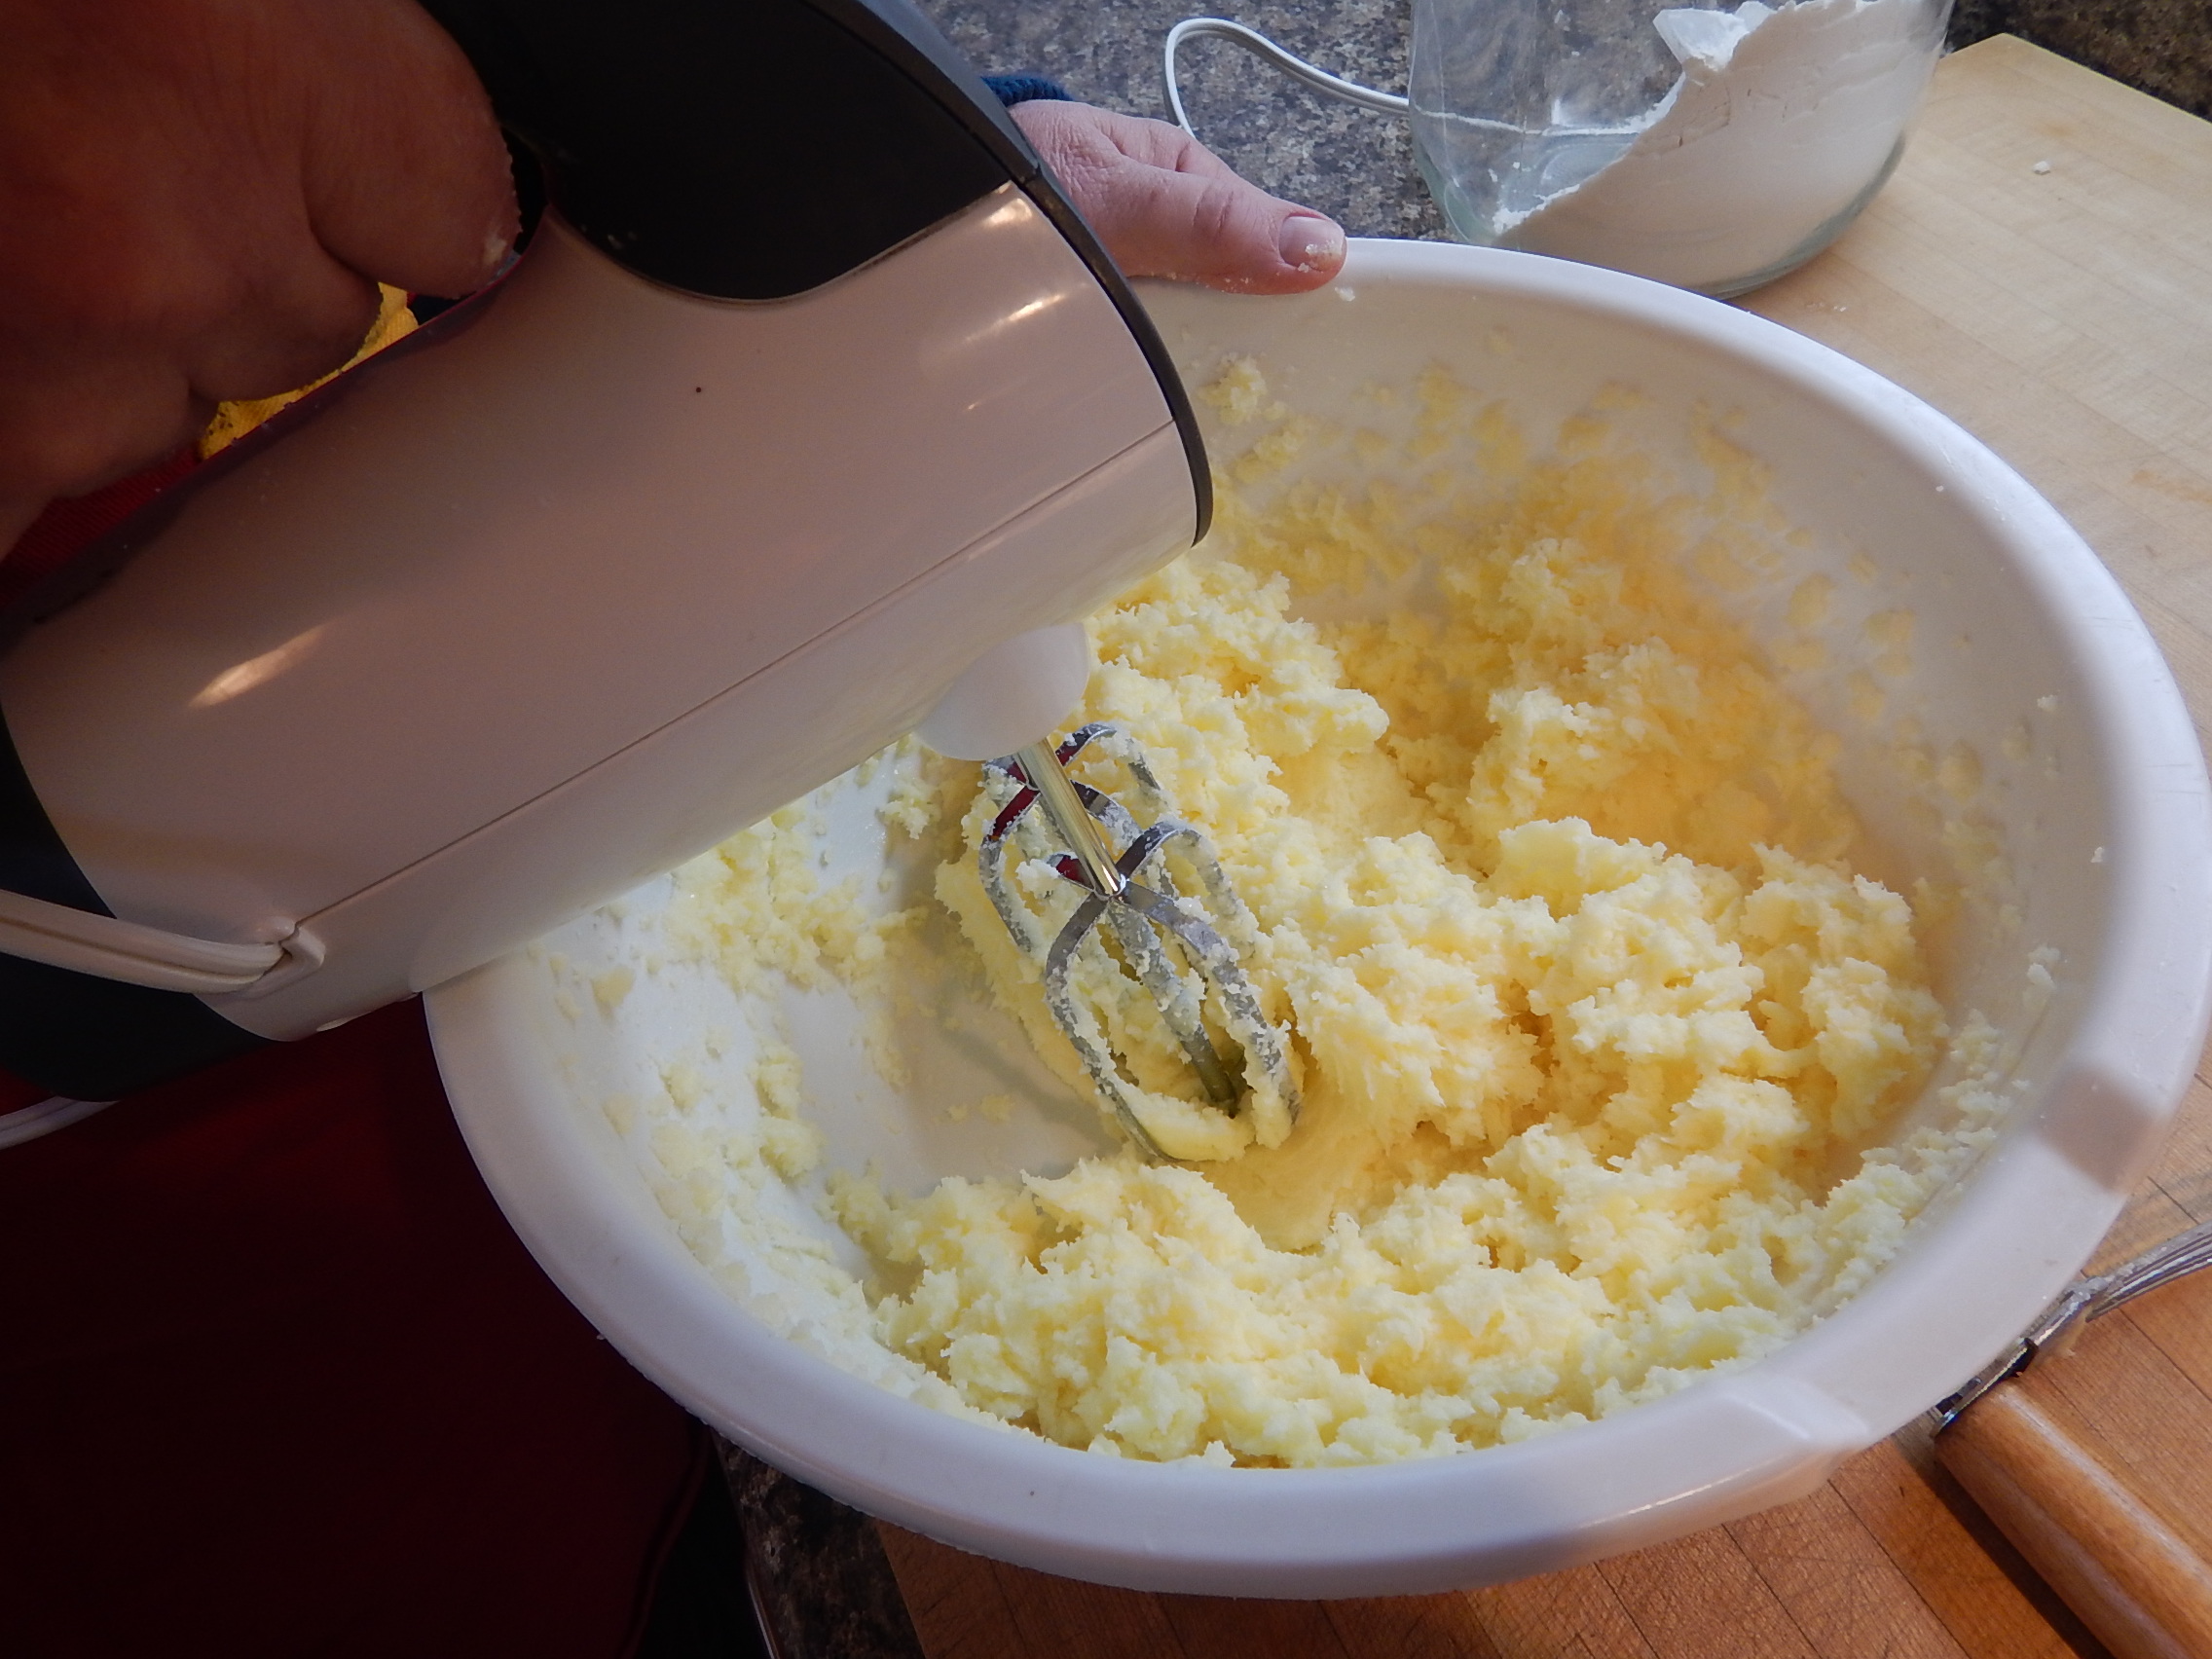
STEP TWO – Add the egg, beating until the mixture is light & fluffy.
More beating is better than less. When I think it’s enough, I do it some more just to be sure 🙂 Using the electric mixer is super easy, so I’m not exhausting my arm like I’d be using a spoon.
photo by SVSeekins
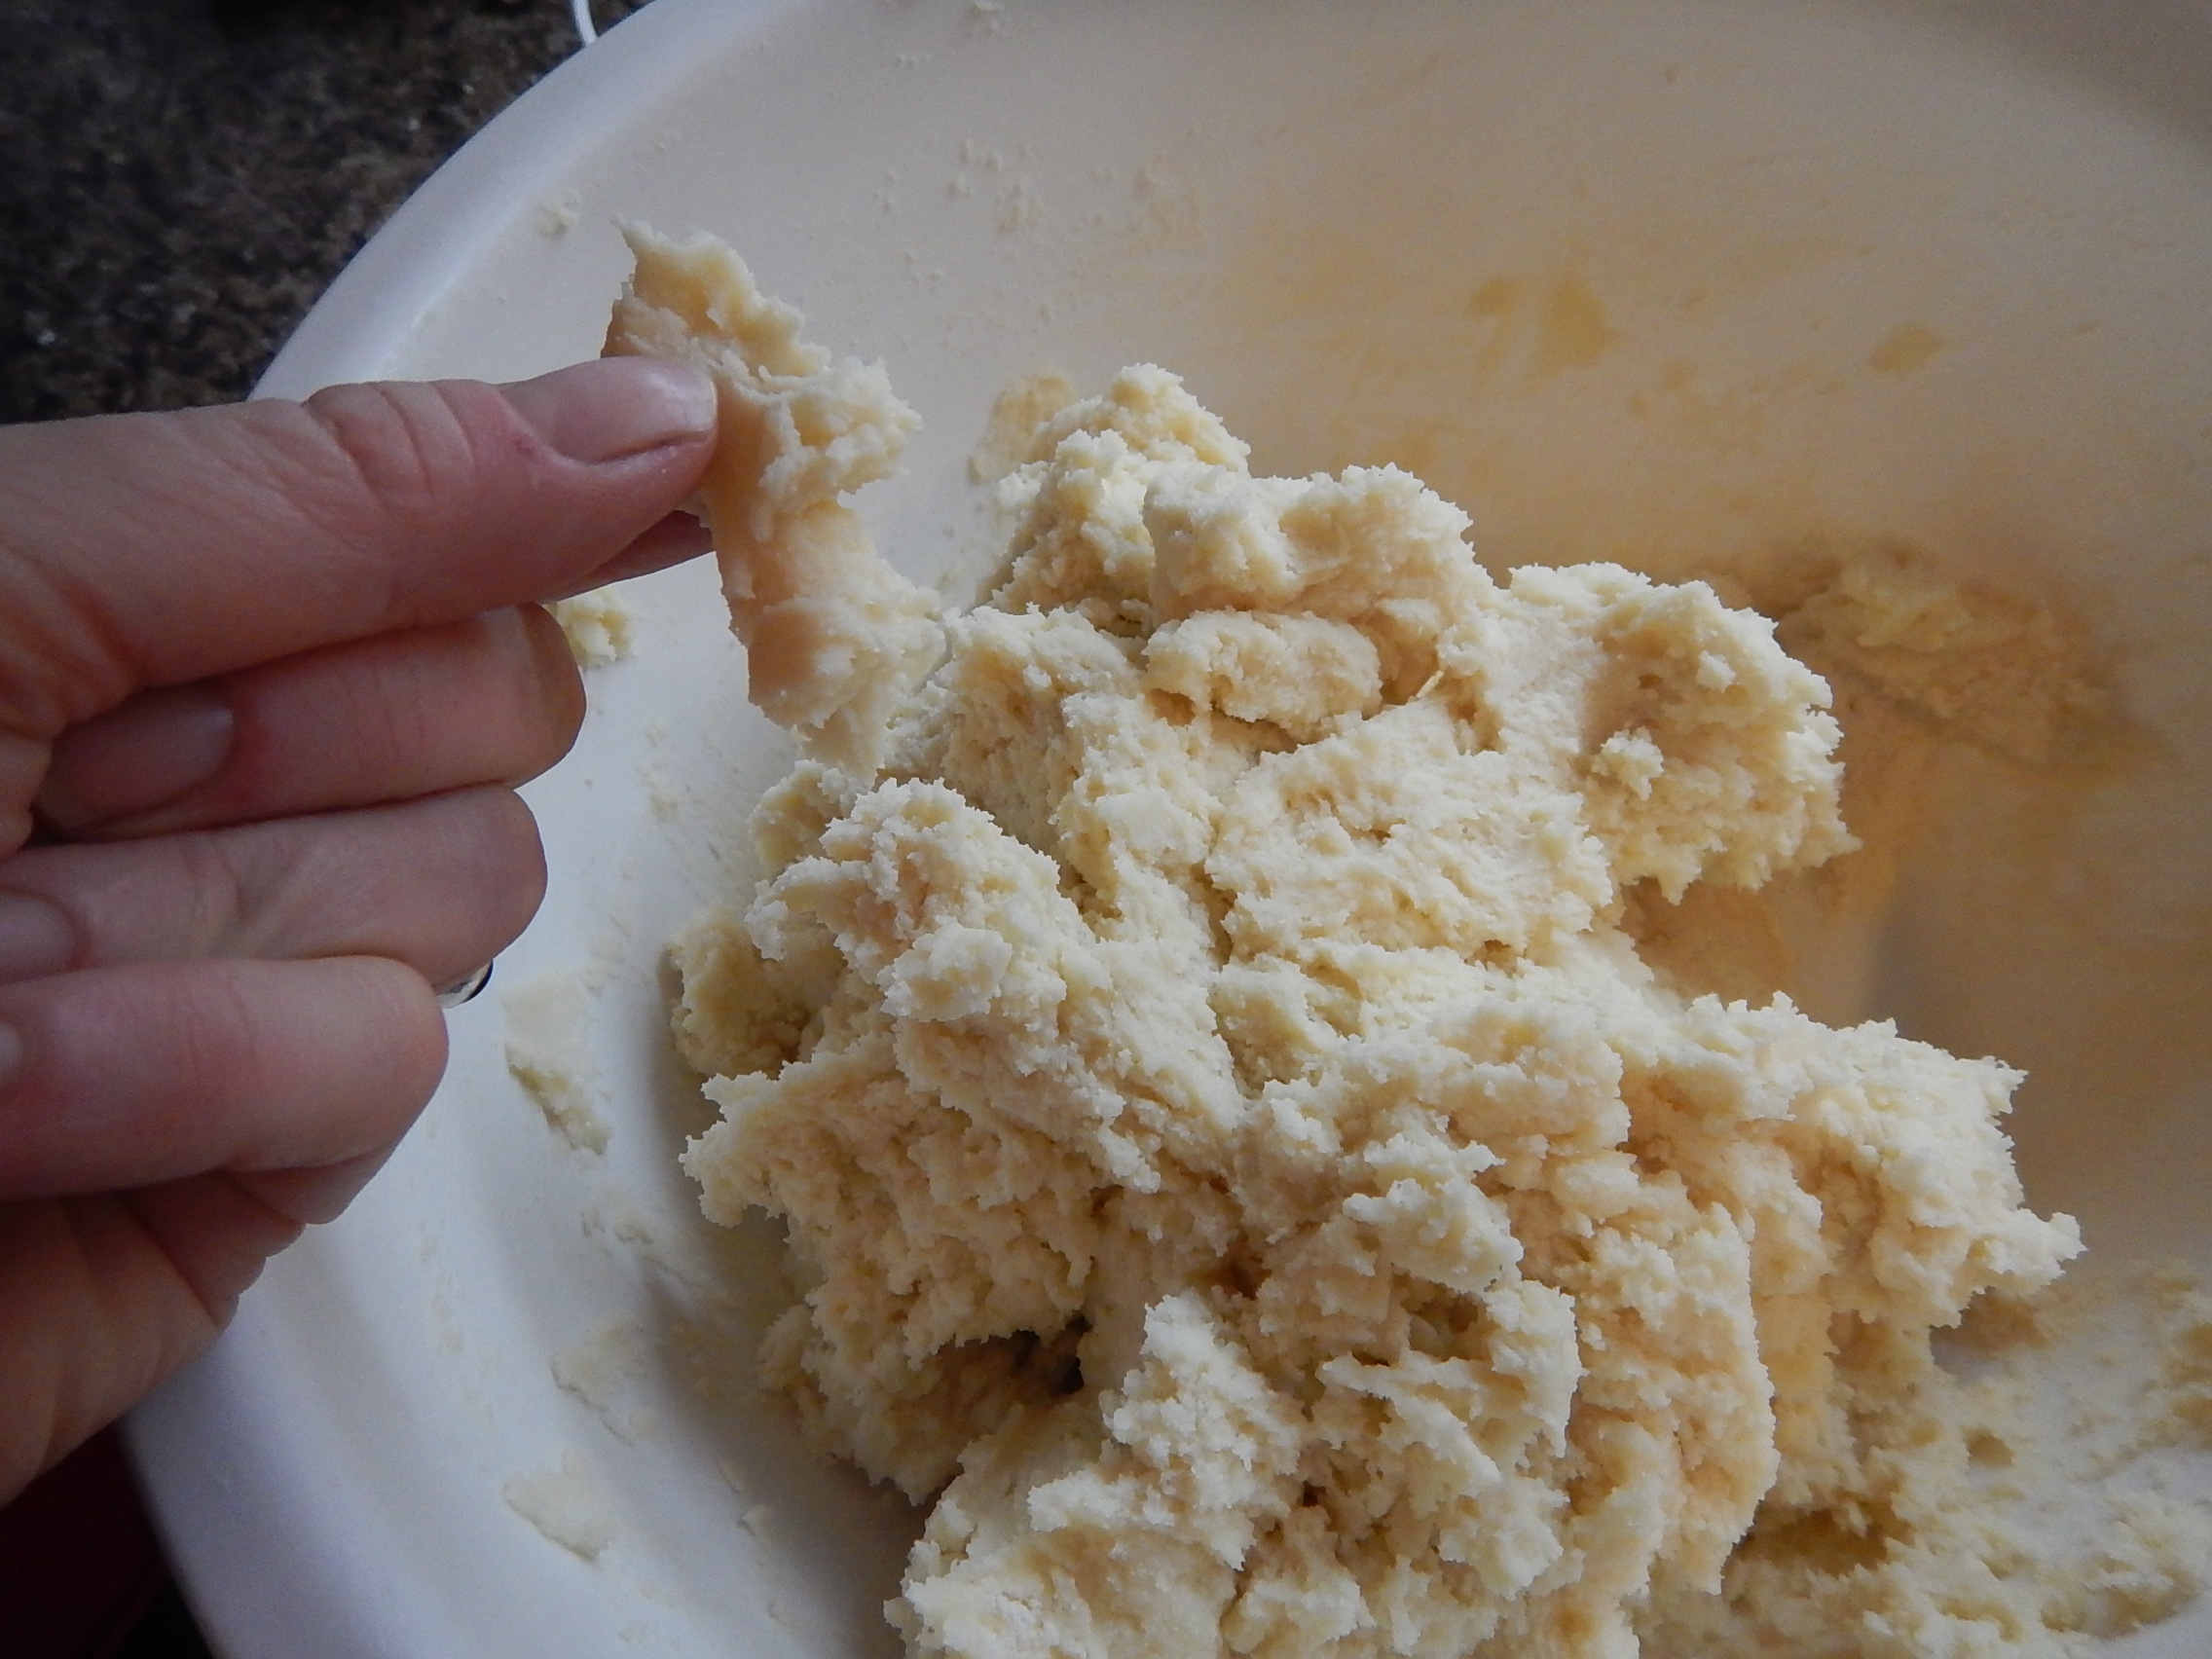
STEP THREE – Slowly blend in the flour.
Slowlybeing the trick to stop the flour from flying all over the room when the mixer paddles hit it. No need to over do it.
The dough should be firm & a bit crumbly. I usually feel like I’ve added too much flour, but this is the way it needs to be to go through the cookie press well.
Christmas Elf Barbara Hansen, photo by SVSeekins
STEP FOUR – Pre-heat the oven to 375 F.
(190 C)
STEP FIVE – Fill the cookie press with dough.
Yup, I’m tempted to use fingers to stuff it all in faster, but a spoon is best for keeping the dough cool.
Pack in as much cookie dough as possible, pushing out air pockets.
photo by SVSeekins
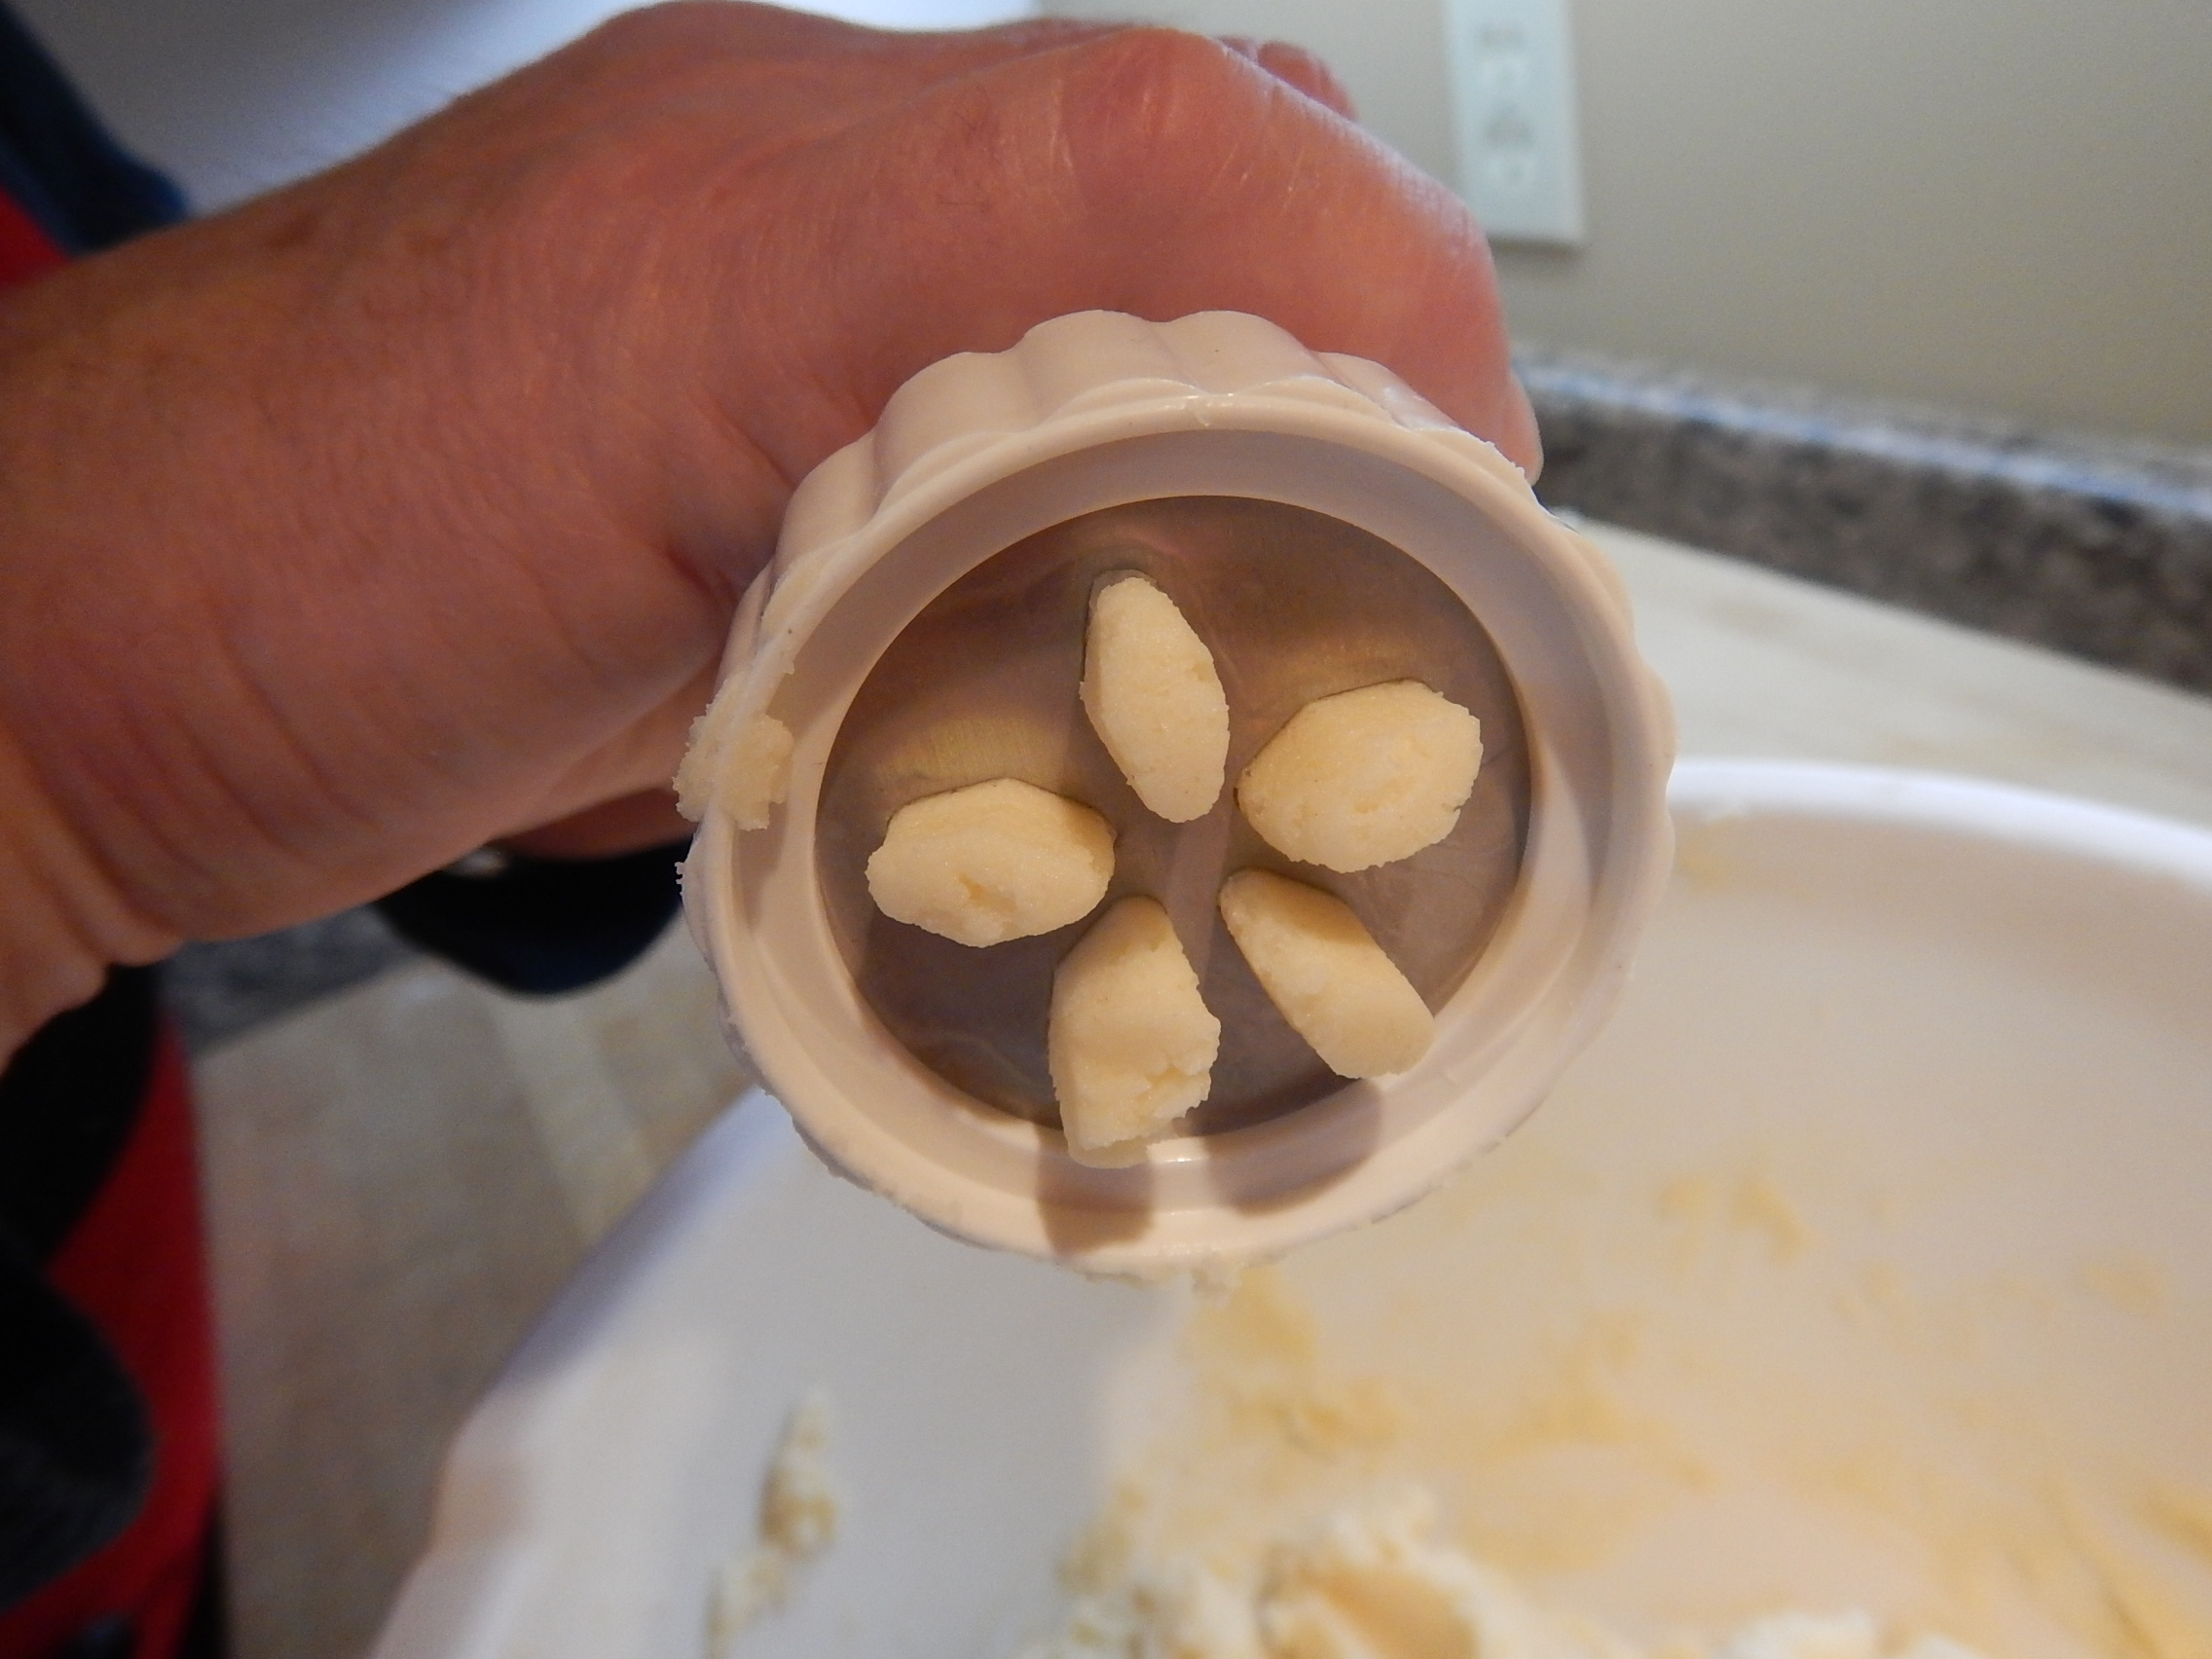
Screw on the top handle & click it a couple of times until the dough oozes through the cookie-form disc. Click once or twice more to prove it flows smoothly. Break off the excess & return that to the bowl for later use.
STEP SIX – Press cookies onto a ungreased cookie sheet.
photo by SVSeekins
One click –
One cookie.
The cookies will spread out only a little bit during baking so they can be arranged fairly close to each other on the pan.
It’s the quick flick of the wrist when shifting the press that breaks the dough cleanly between cookies. If the dough is too warm, it’s not as easy. When it’s all working, it’s like magic. It makes all that prep work worth it 🙂
photo by SVSeekins
If it’s just not working & I’m getting really ticked off, I take a zen moment & eat a little cookie dough. An easier option is to roll a teaspoon of dough into a ball with my hands & place on the cookie sheet.
Not as fun, but it works. Less angst.
STEP SEVEN – Bake in a 375 F oven for 8-10 minutes.
photo by SVSeekins
Yeah, that doesn’t seem like much time, but it works. I watch through the window until there’s just a hint of brown along the edges. The cookies at the very front of this pan are over-done.
STEP EIGHT – Cool the cookies on the pan for a few minutes to let them stiffen. Then shift them to a cooling rack.
Enjoy some yourself while they’re still warm 🙂
photo by SVSeekins
* I copied the original recipe into my cookbook so long ago that I really don’t remember who or where it came from. I can’t take credit for the list of ingredients, but I’ve embellished the instructions through many failures & successes.
But in mid-November…
When it’s cloudy & drizzling…
I’m thrilledby a soft pastel pink.
Today it’s a Hesperantha. Blooming right beside the deer route! And this patch will bloom until a hard frost kick’s its butt.
photo by SVSeekins
It amazes me that these late-flowering perennials are native to sunny, South African streamsides. Here they bloom in the light shade of our dry woodland garden. Perhaps the thick mulch helped protect them from drying out too much this summer?
The mysteries continue… some websites call them ‘crimson flag lily‘ or ‘scarlet river lily.’ But I’ve always thought those are the crimson / scarletversions that bloom in our sunny borders in spring ?? Perhaps they’re cousins?
photo by SVSeekins
What’s more, neither are actually from the lily family. They kinda remind me of miniature gladioli. BUT they grow from a rhizome rather than a corm.
Scientists say they’re iris. Go figure.
Can you imagine the hullabaloo & debate at one of those scientific Naming Conventions? I figure those folks have some serious work on their agendas,
with figuring out who first claimed a name…
checking the flower specifics…
& then all the DNA analysis…