

“Danish Butter Cookies” is one of my favorite Christmas baking recipes*. I like to use it as a warm-up for some of the more serious baking.

YOU’LL NEED:
1 cup butter
1 cup sugar
1 egg
2 cups flour
TIP: The key to this recipe is to have the ingredients at cool room temperature.
If the butter is straight out of the fridge, it’s too cold. BUT too warm isn’t good either.
Forget about microwaving the butter for just a few seconds to take the chill out. The result is lovely, smooth dough which mushes into a mess in the oven.
I’ve learned to keep my hands out of the dough for the same reason.
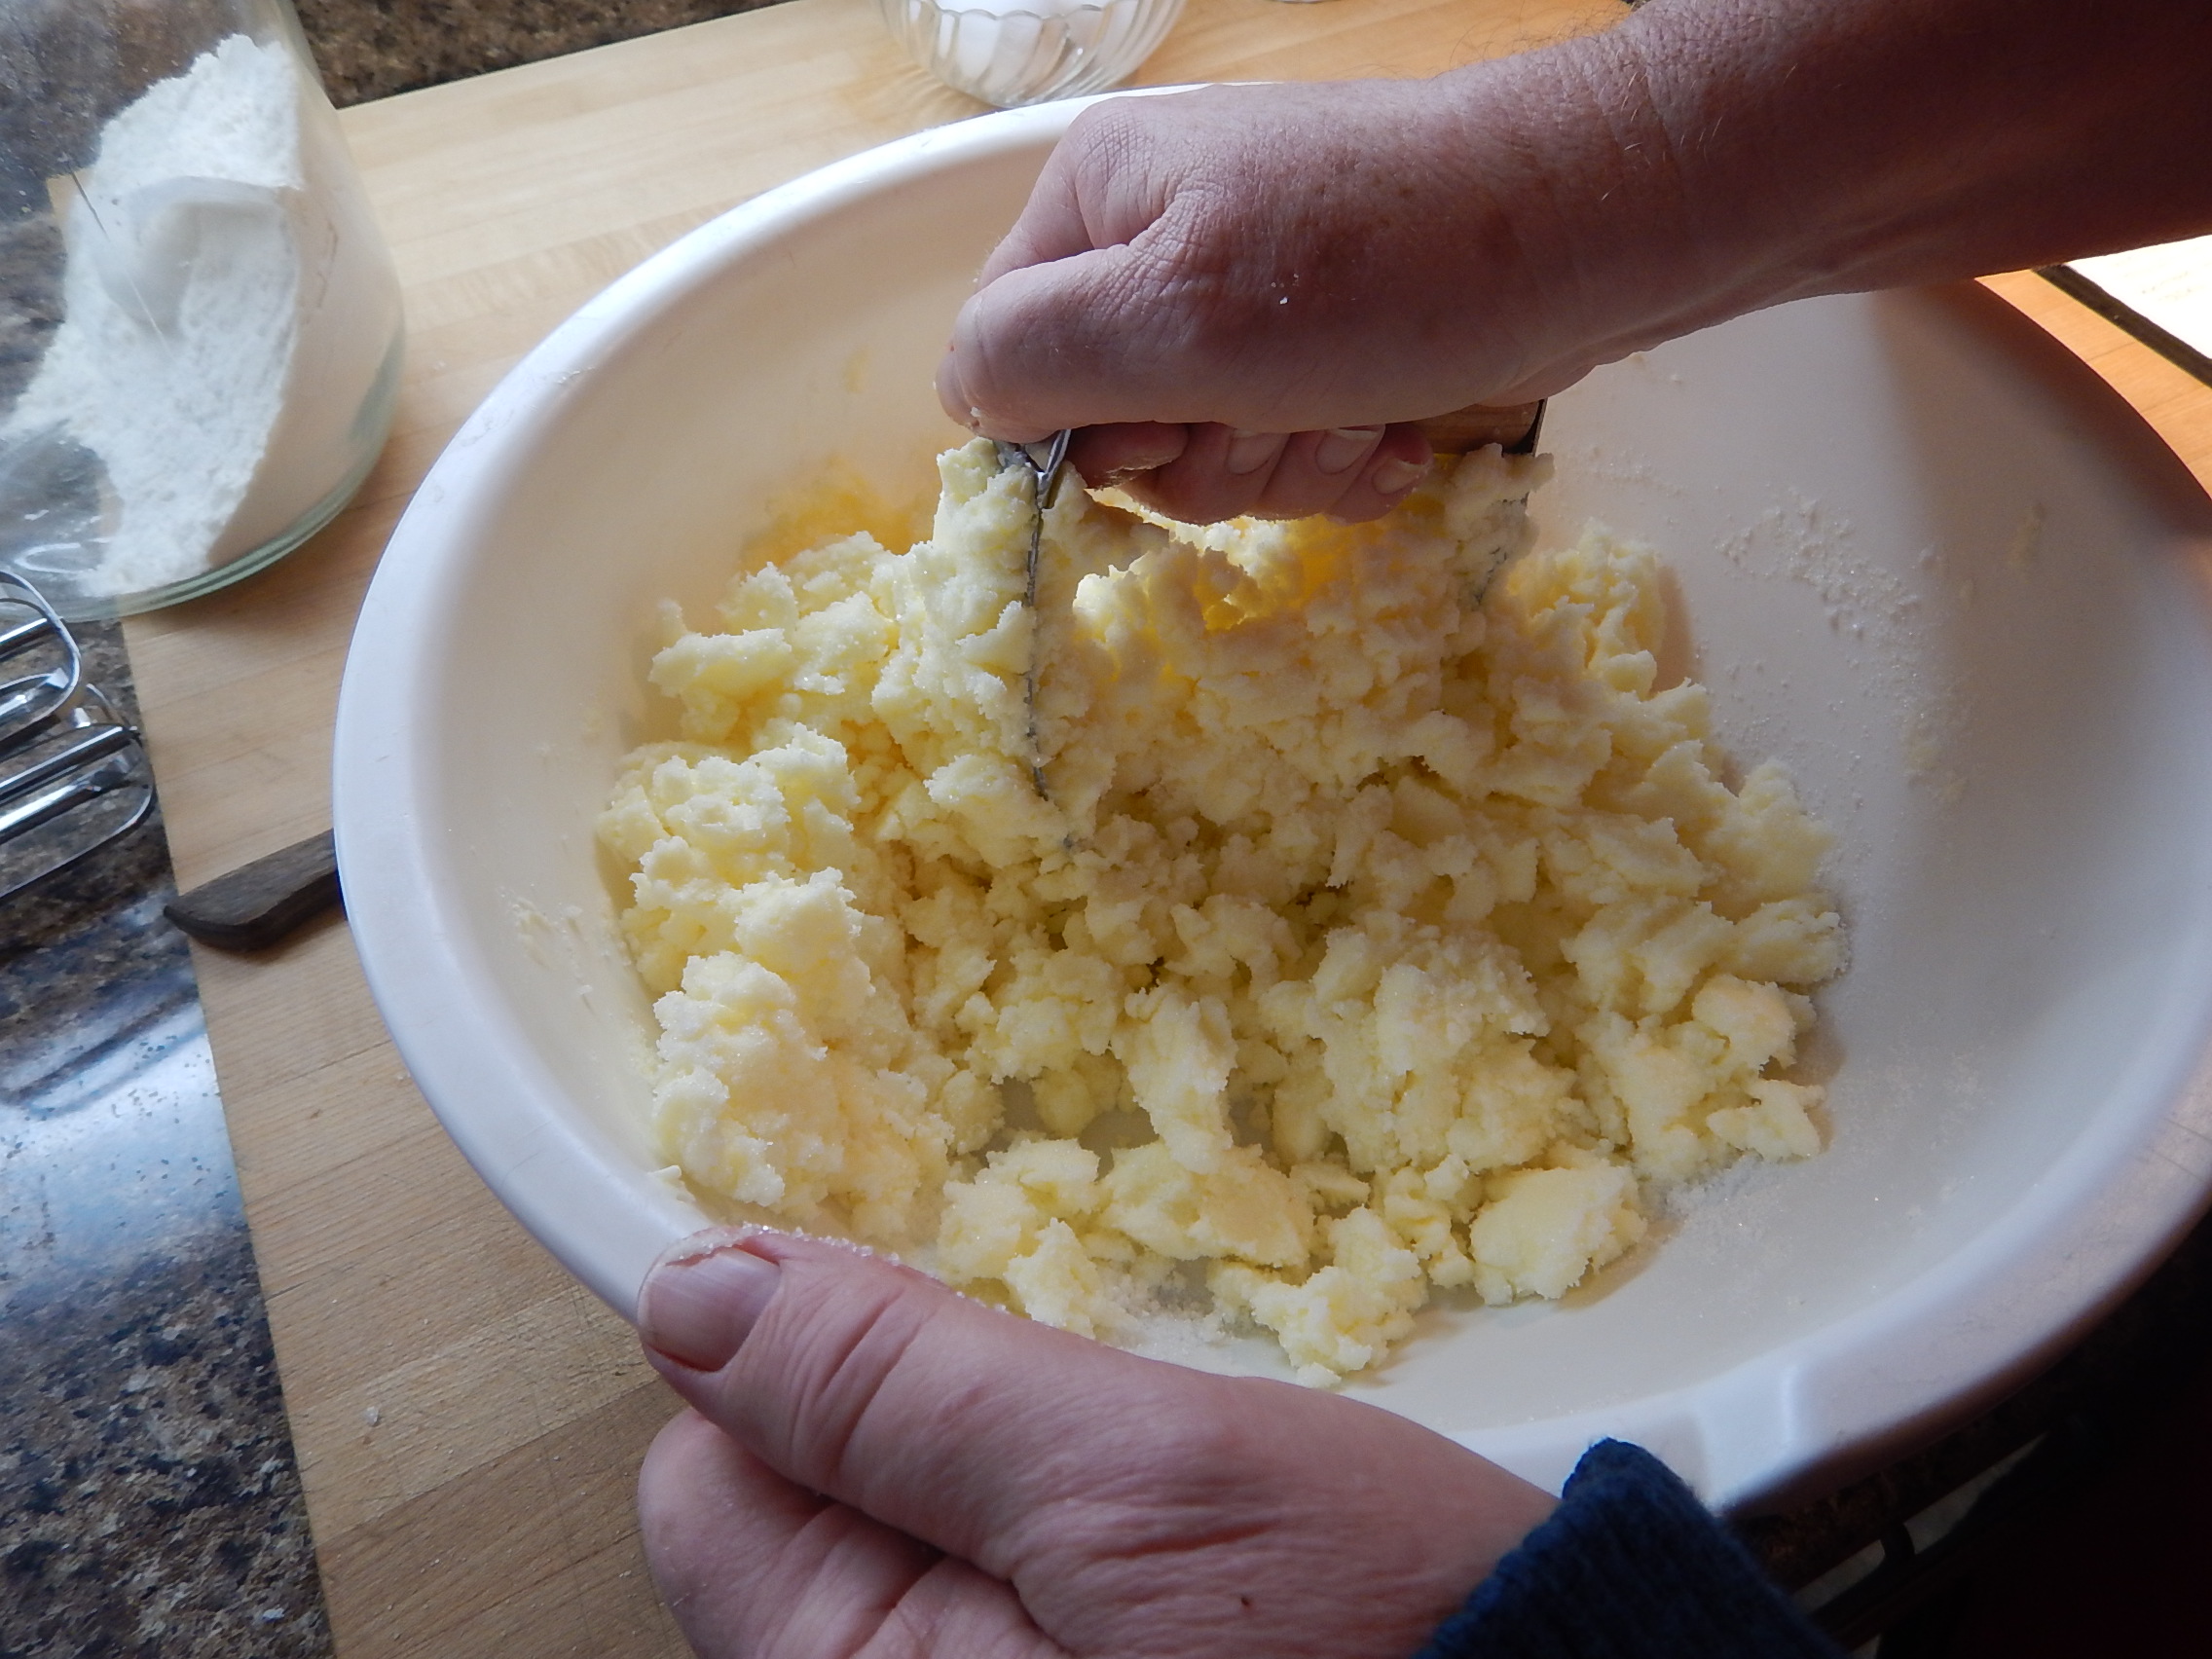
STEP ONE – Cut the butter into small pieces. Add the sugar. Mix well.
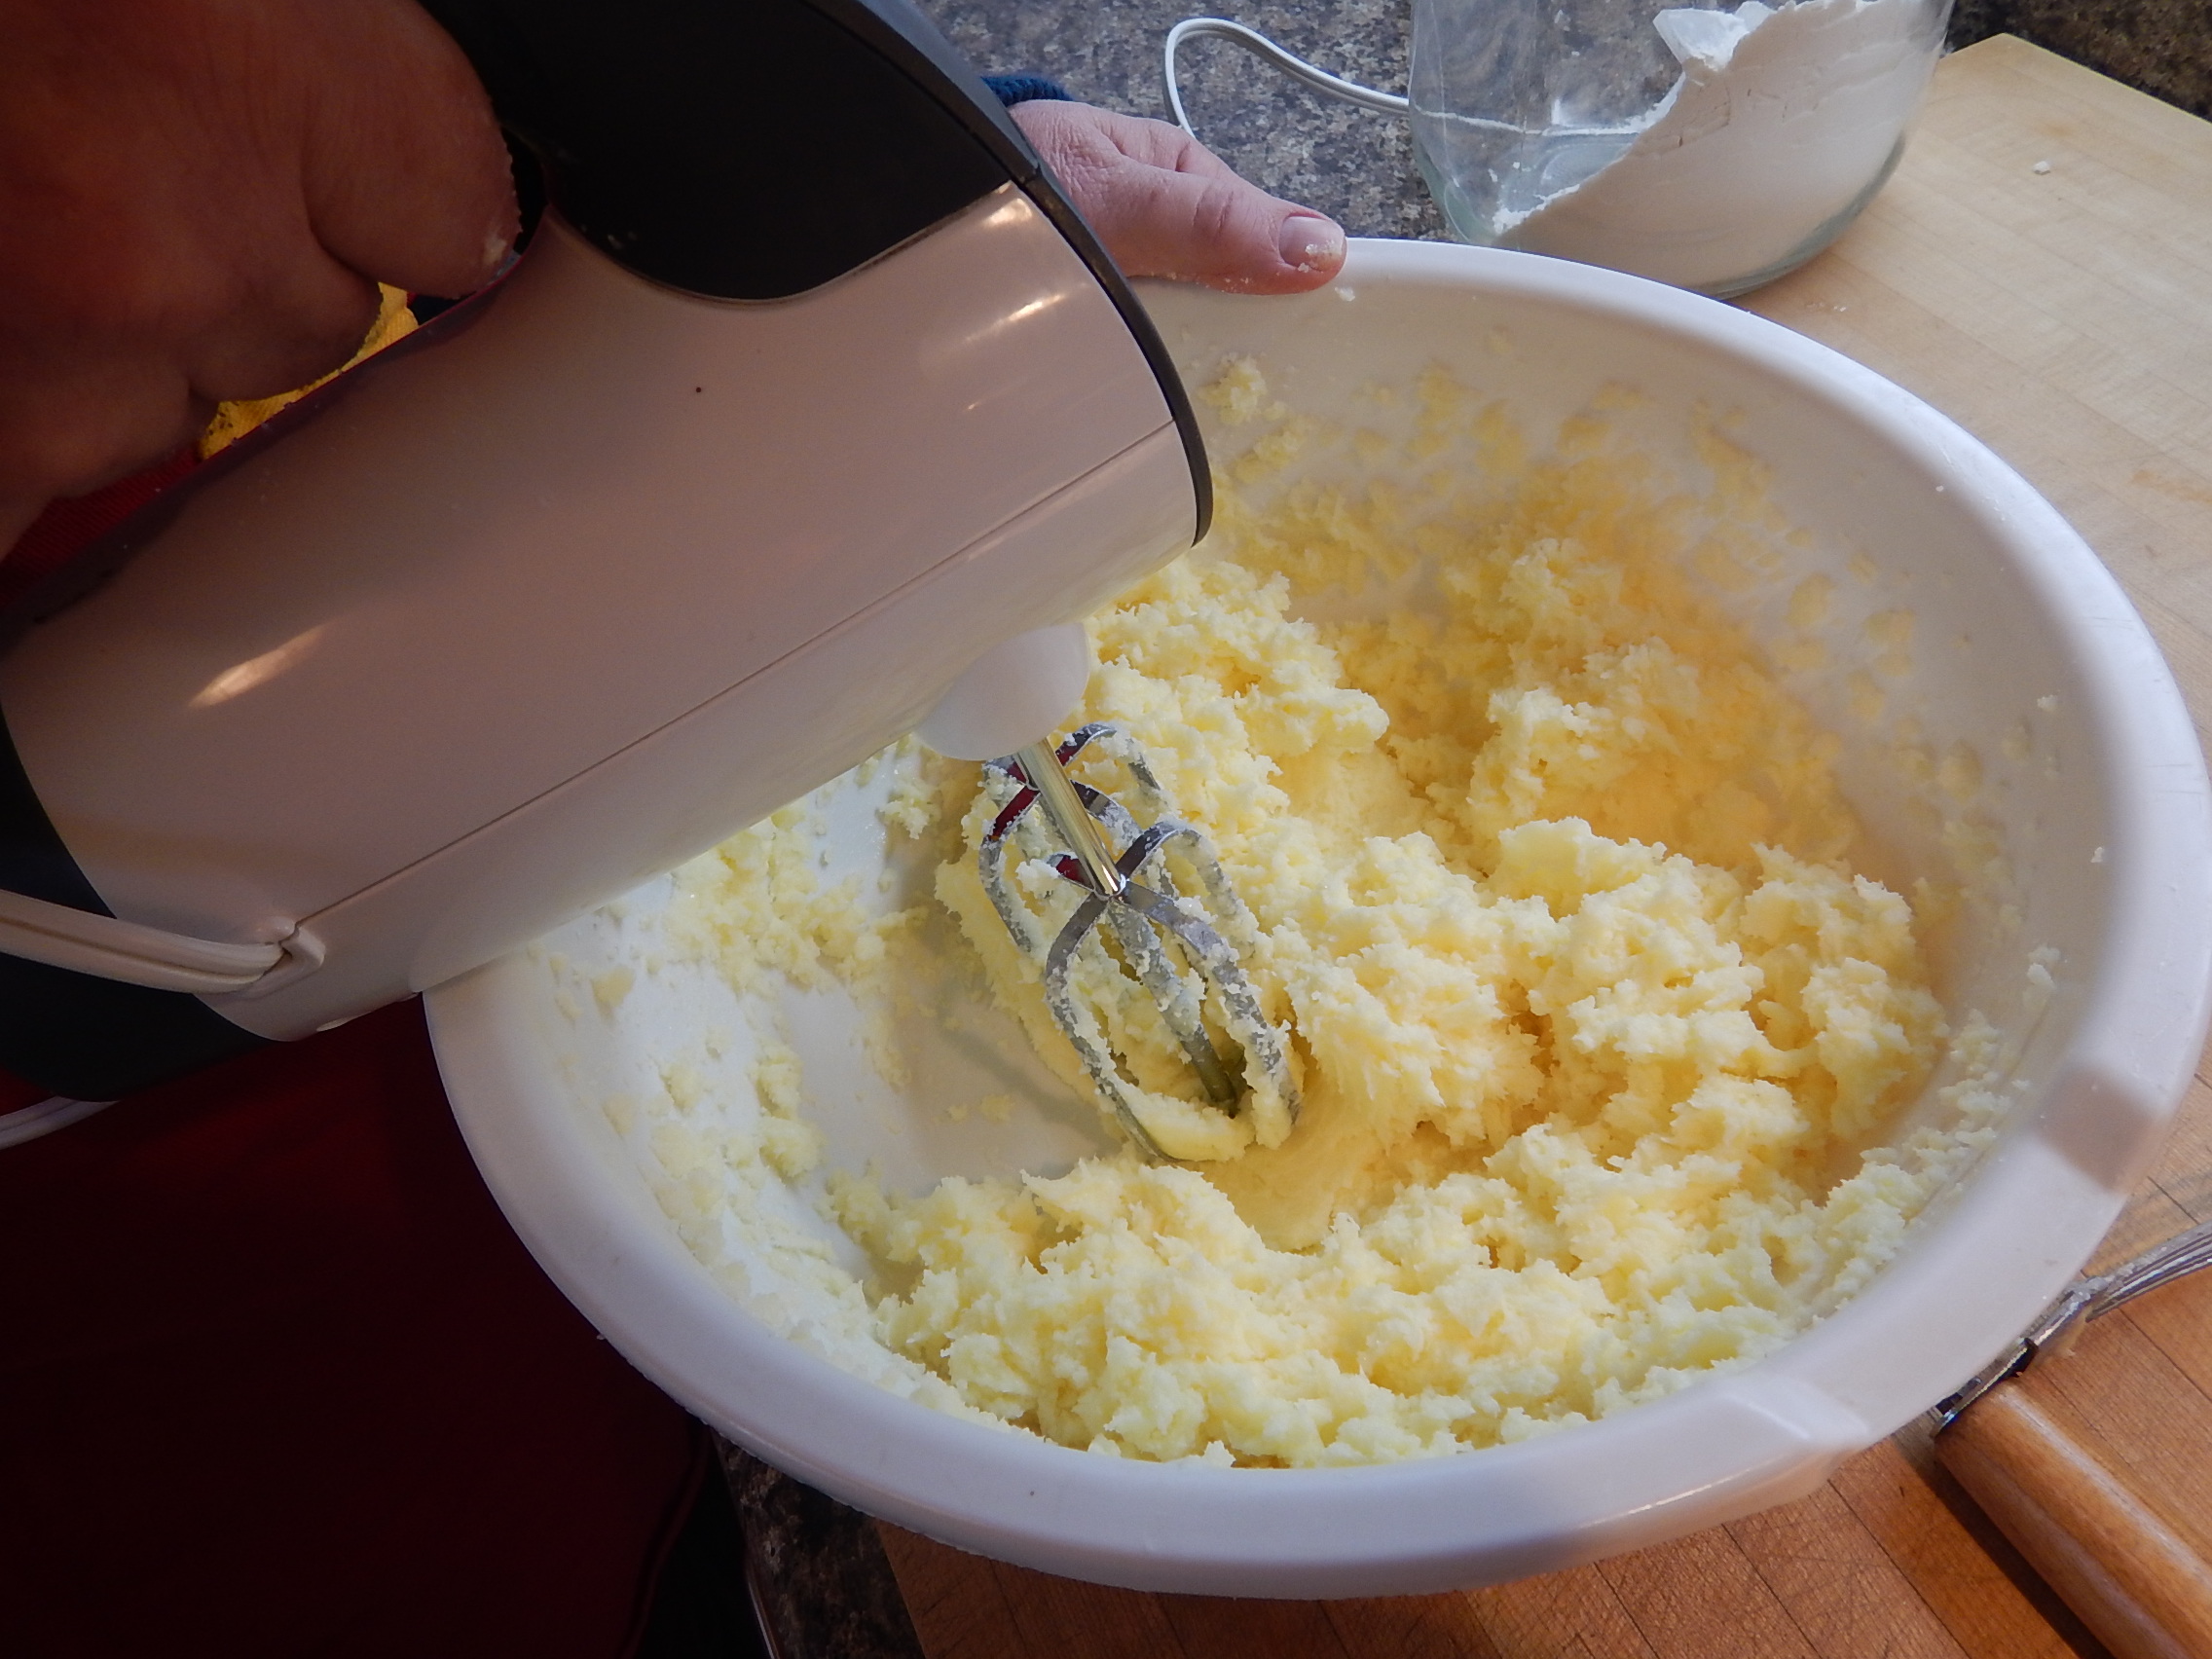
STEP TWO – Add the egg, beating until the mixture is light & fluffy.
More beating is better than less. When I think it’s enough, I do it some more just to be sure 🙂 Using the electric mixer is super easy, so I’m not exhausting my arm like I’d be using a spoon.
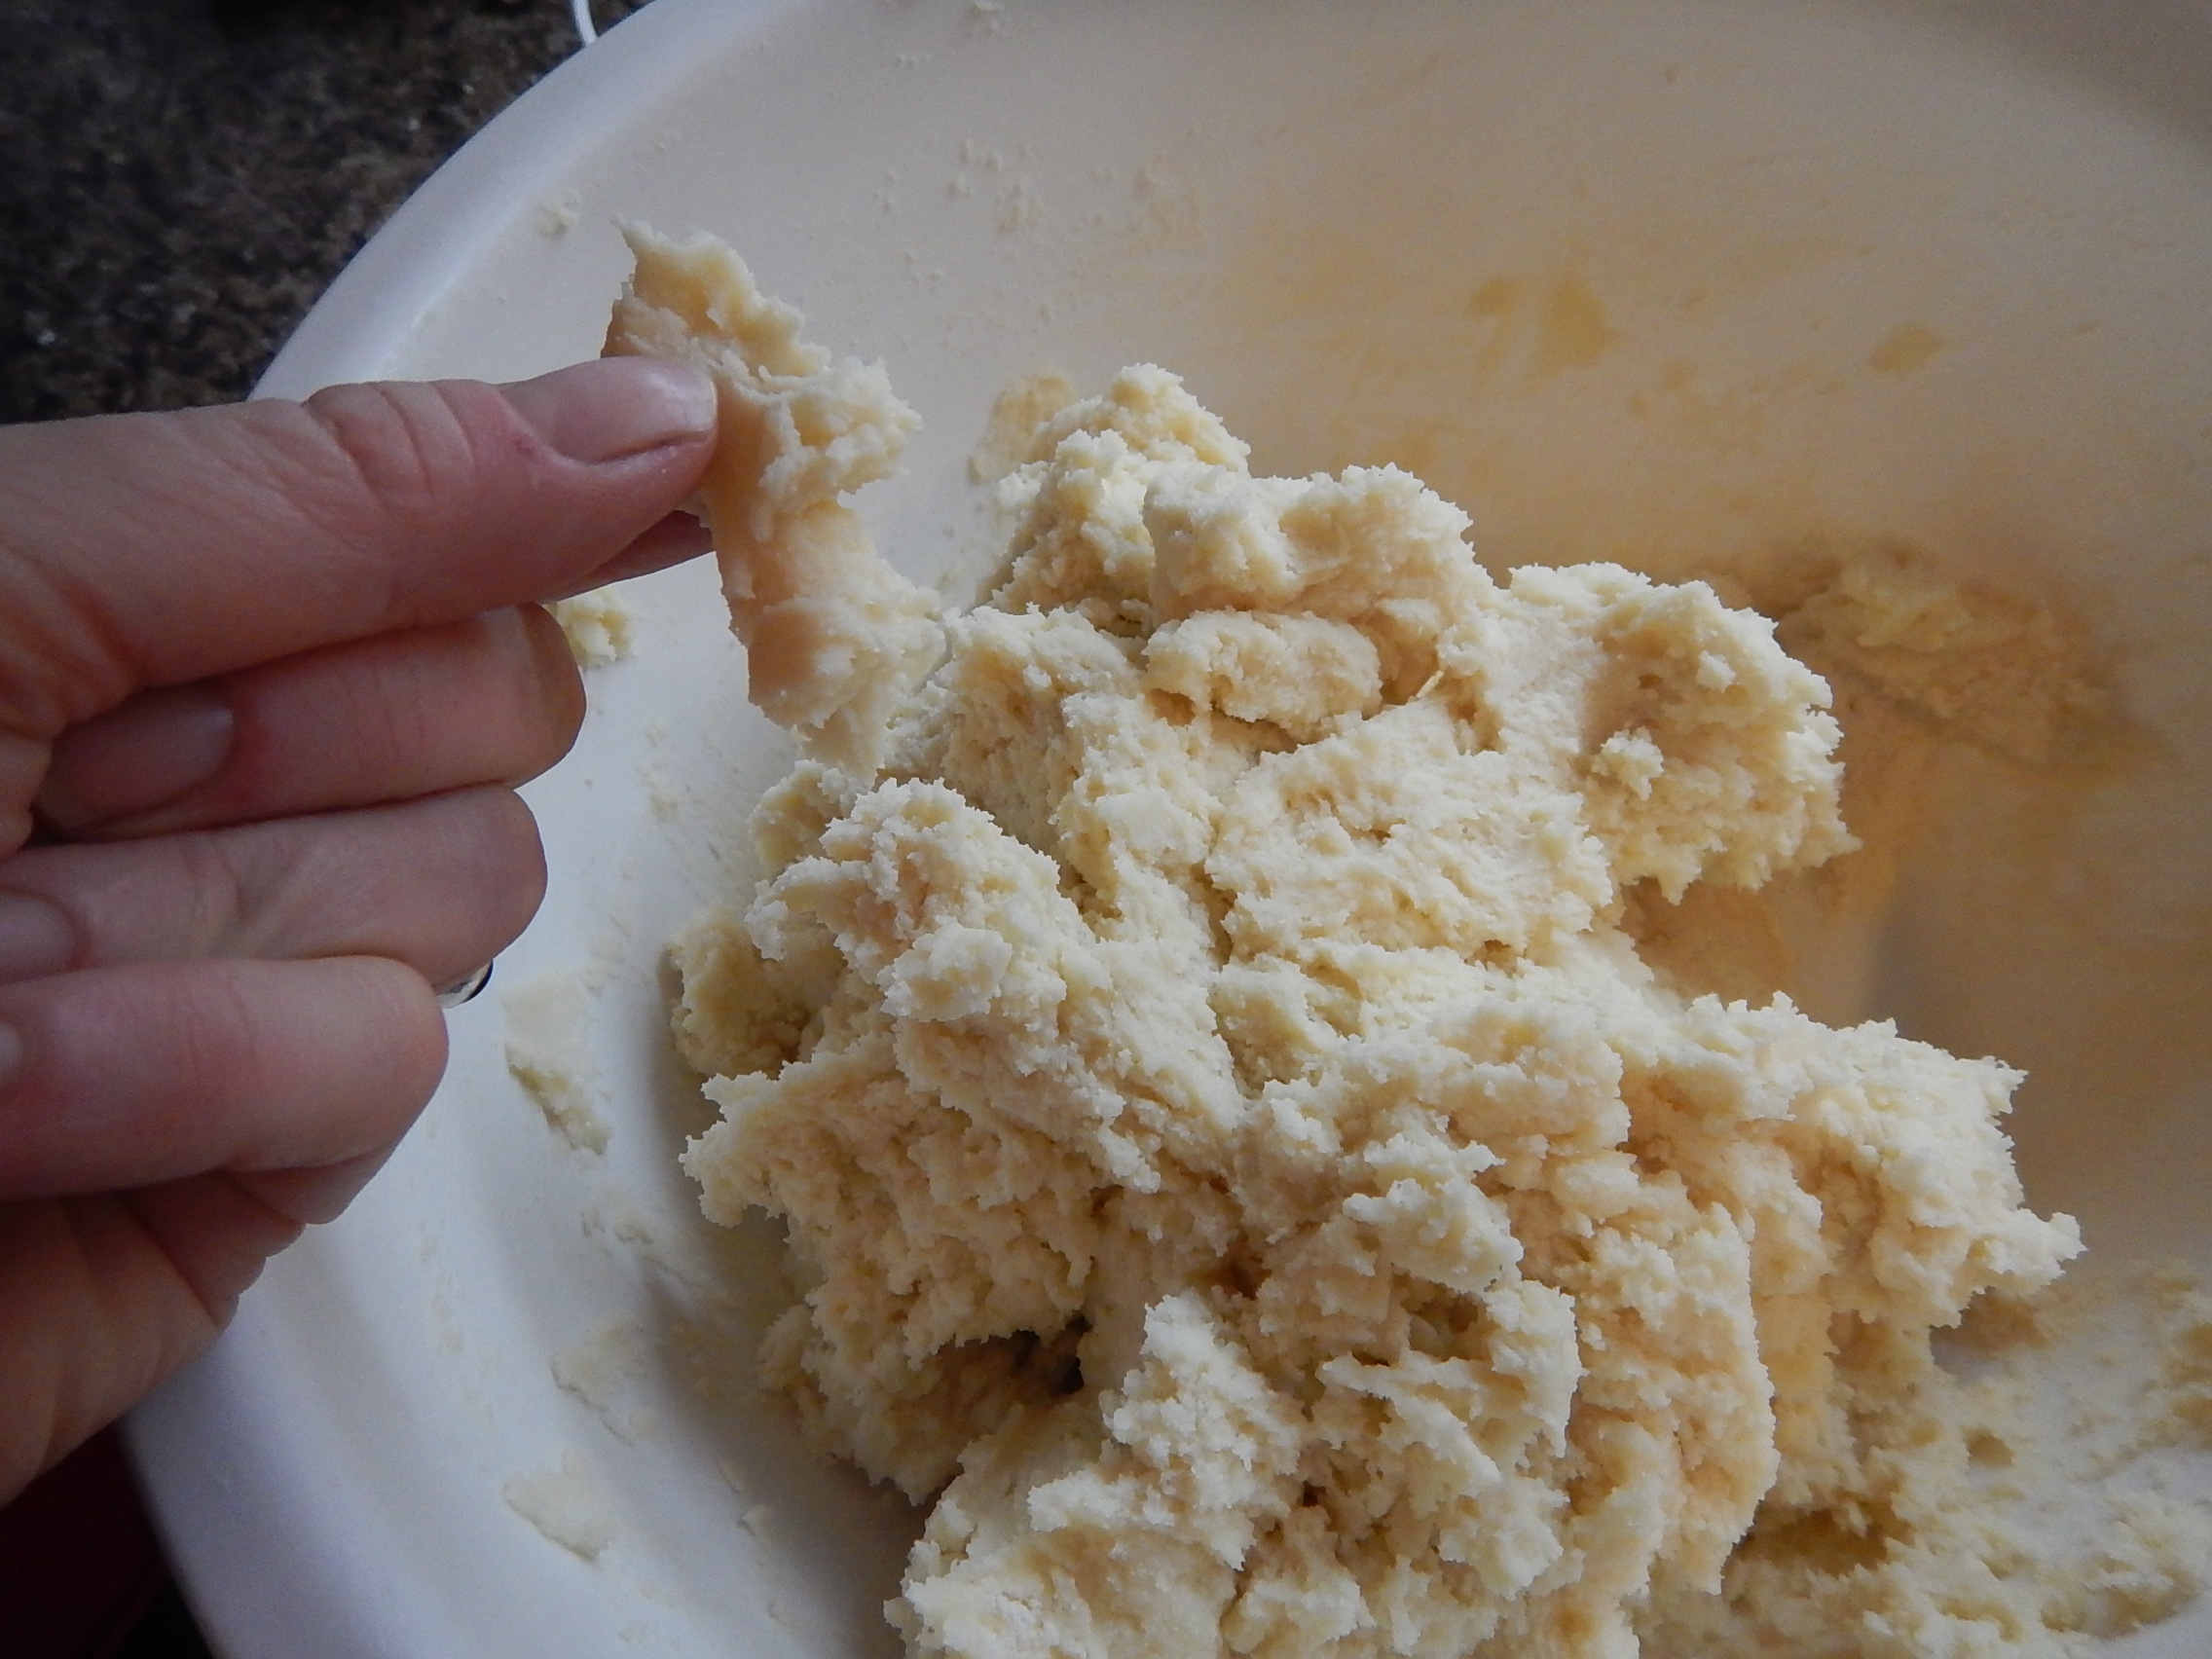
STEP THREE – Slowly blend in the flour.
Slowly being the trick to stop the flour from flying all over the room when the mixer paddles hit it. No need to over do it.
The dough should be firm & a bit crumbly. I usually feel like I’ve added too much flour, but this is the way it needs to be to go through the cookie press well.

STEP FOUR – Pre-heat the oven to 375 F.
(190 C)
STEP FIVE – Fill the cookie press with dough.
Yup, I’m tempted to use fingers to stuff it all in faster, but a spoon is best for keeping the dough cool.
Pack in as much cookie dough as possible, pushing out air pockets.
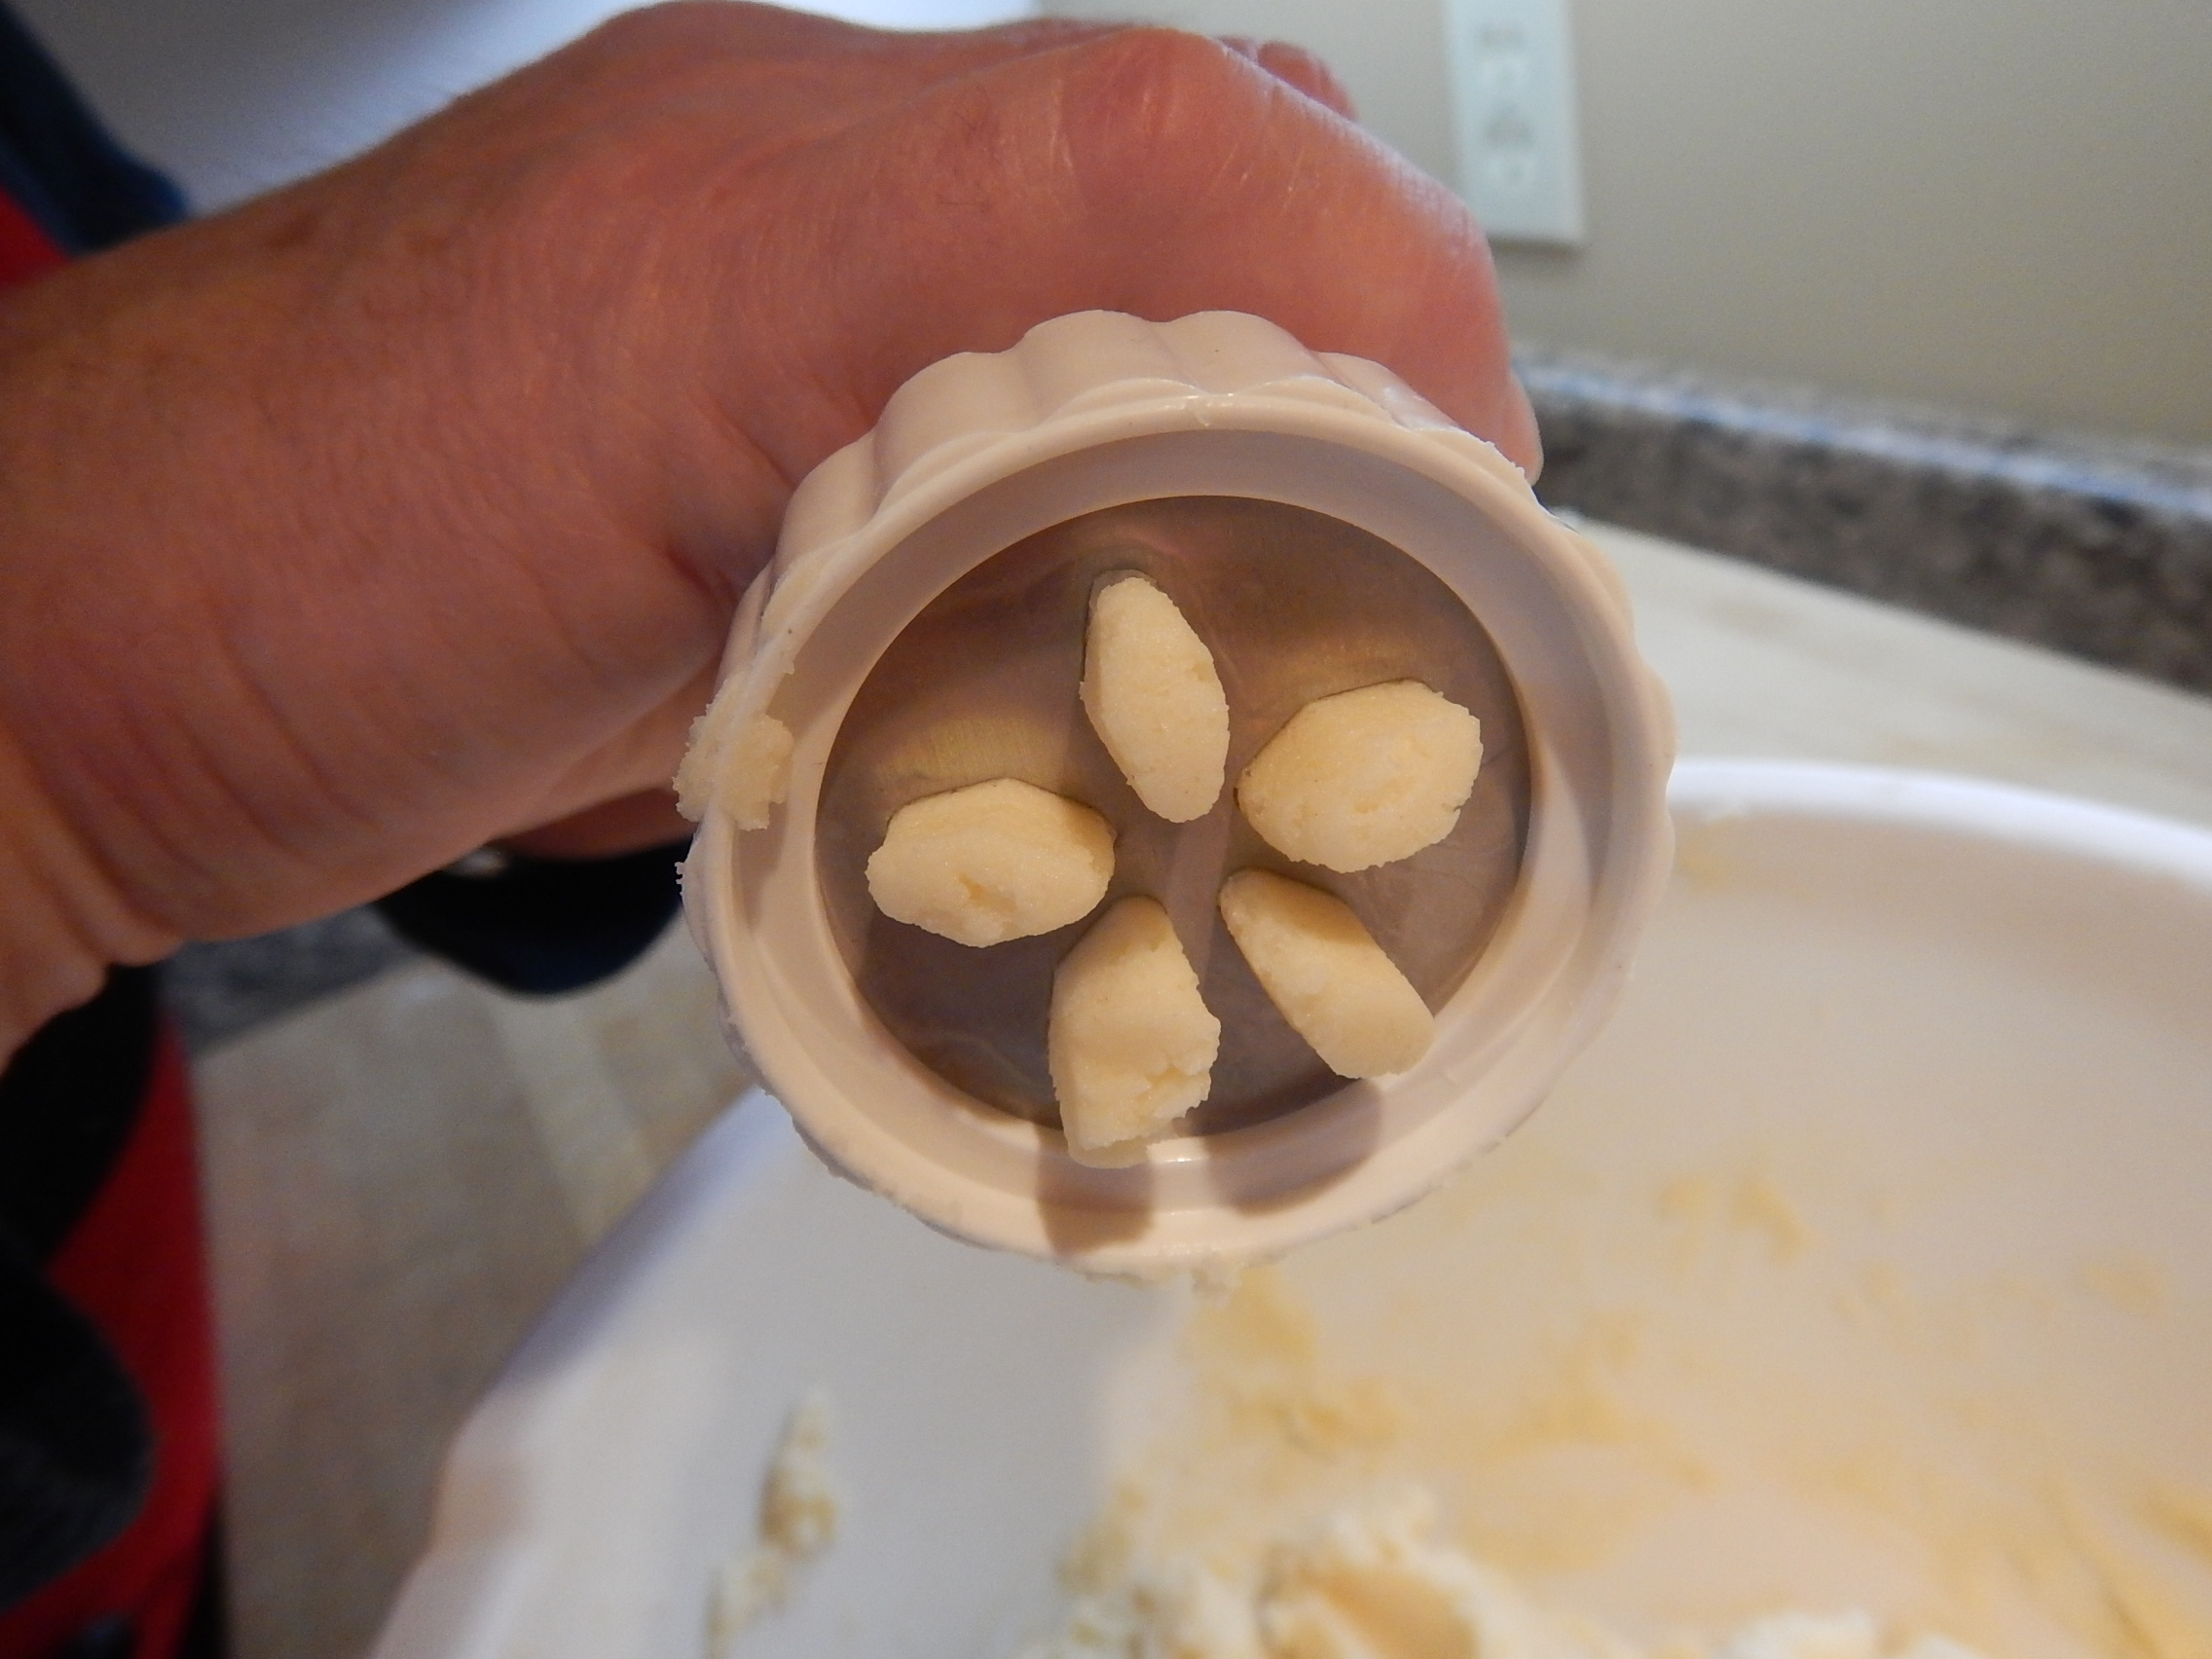
Screw on the top handle & click it a couple of times until the dough oozes through the cookie-form disc. Click once or twice more to prove it flows smoothly. Break off the excess & return that to the bowl for later use.
STEP SIX – Press cookies onto a ungreased cookie sheet.

One click –
One cookie.
The cookies will spread out only a little bit during baking so they can be arranged fairly close to each other on the pan.
It’s the quick flick of the wrist when shifting the press that breaks the dough cleanly between cookies. If the dough is too warm, it’s not as easy. When it’s all working, it’s like magic. It makes all that prep work worth it 🙂

If it’s just not working & I’m getting really ticked off, I take a zen moment & eat a little cookie dough. An easier option is to roll a teaspoon of dough into a ball with my hands & place on the cookie sheet.
Not as fun, but it works. Less angst.
STEP SEVEN – Bake in a 375 F oven for 8-10 minutes.

Yeah, that doesn’t seem like much time, but it works. I watch through the window until there’s just a hint of brown along the edges. The cookies at the very front of this pan are over-done.
STEP EIGHT – Cool the cookies on the pan for a few minutes to let them stiffen. Then shift them to a cooling rack.
Enjoy some yourself while they’re still warm 🙂

* I copied the original recipe into my cookbook so long ago that I really don’t remember who or where it came from. I can’t take credit for the list of ingredients, but I’ve embellished the instructions through many failures & successes.
-30-


