Certainly it’s the talk of gardeners in Brentwood Bay & Saanichton.
Now the mystery is solved. Paul, the gardener, was in attendance when we drove past the other day, so I stopped to chat with him.
He says it’s just a regular heather that started to climb the ground wires of the utility pole. He thought that looked kinda cool, so he encouraged it along by tieing the heather further & further up as it grew. The ties wear out & fall off about the same time as the new branches mature enough to hold themselves in place.
It’s famous, says Paul. The local newspaper reporter also stopped by for the photo-op. Pretty cool, eh?
BEFORE (photo by SVSeekins)AFTER (photo by SVSeekins)
Don’t you just love Before & After photos? I do! I lose appreciation when measuring small day-to-day changes. Progress is so much more apparent when distanced by time.
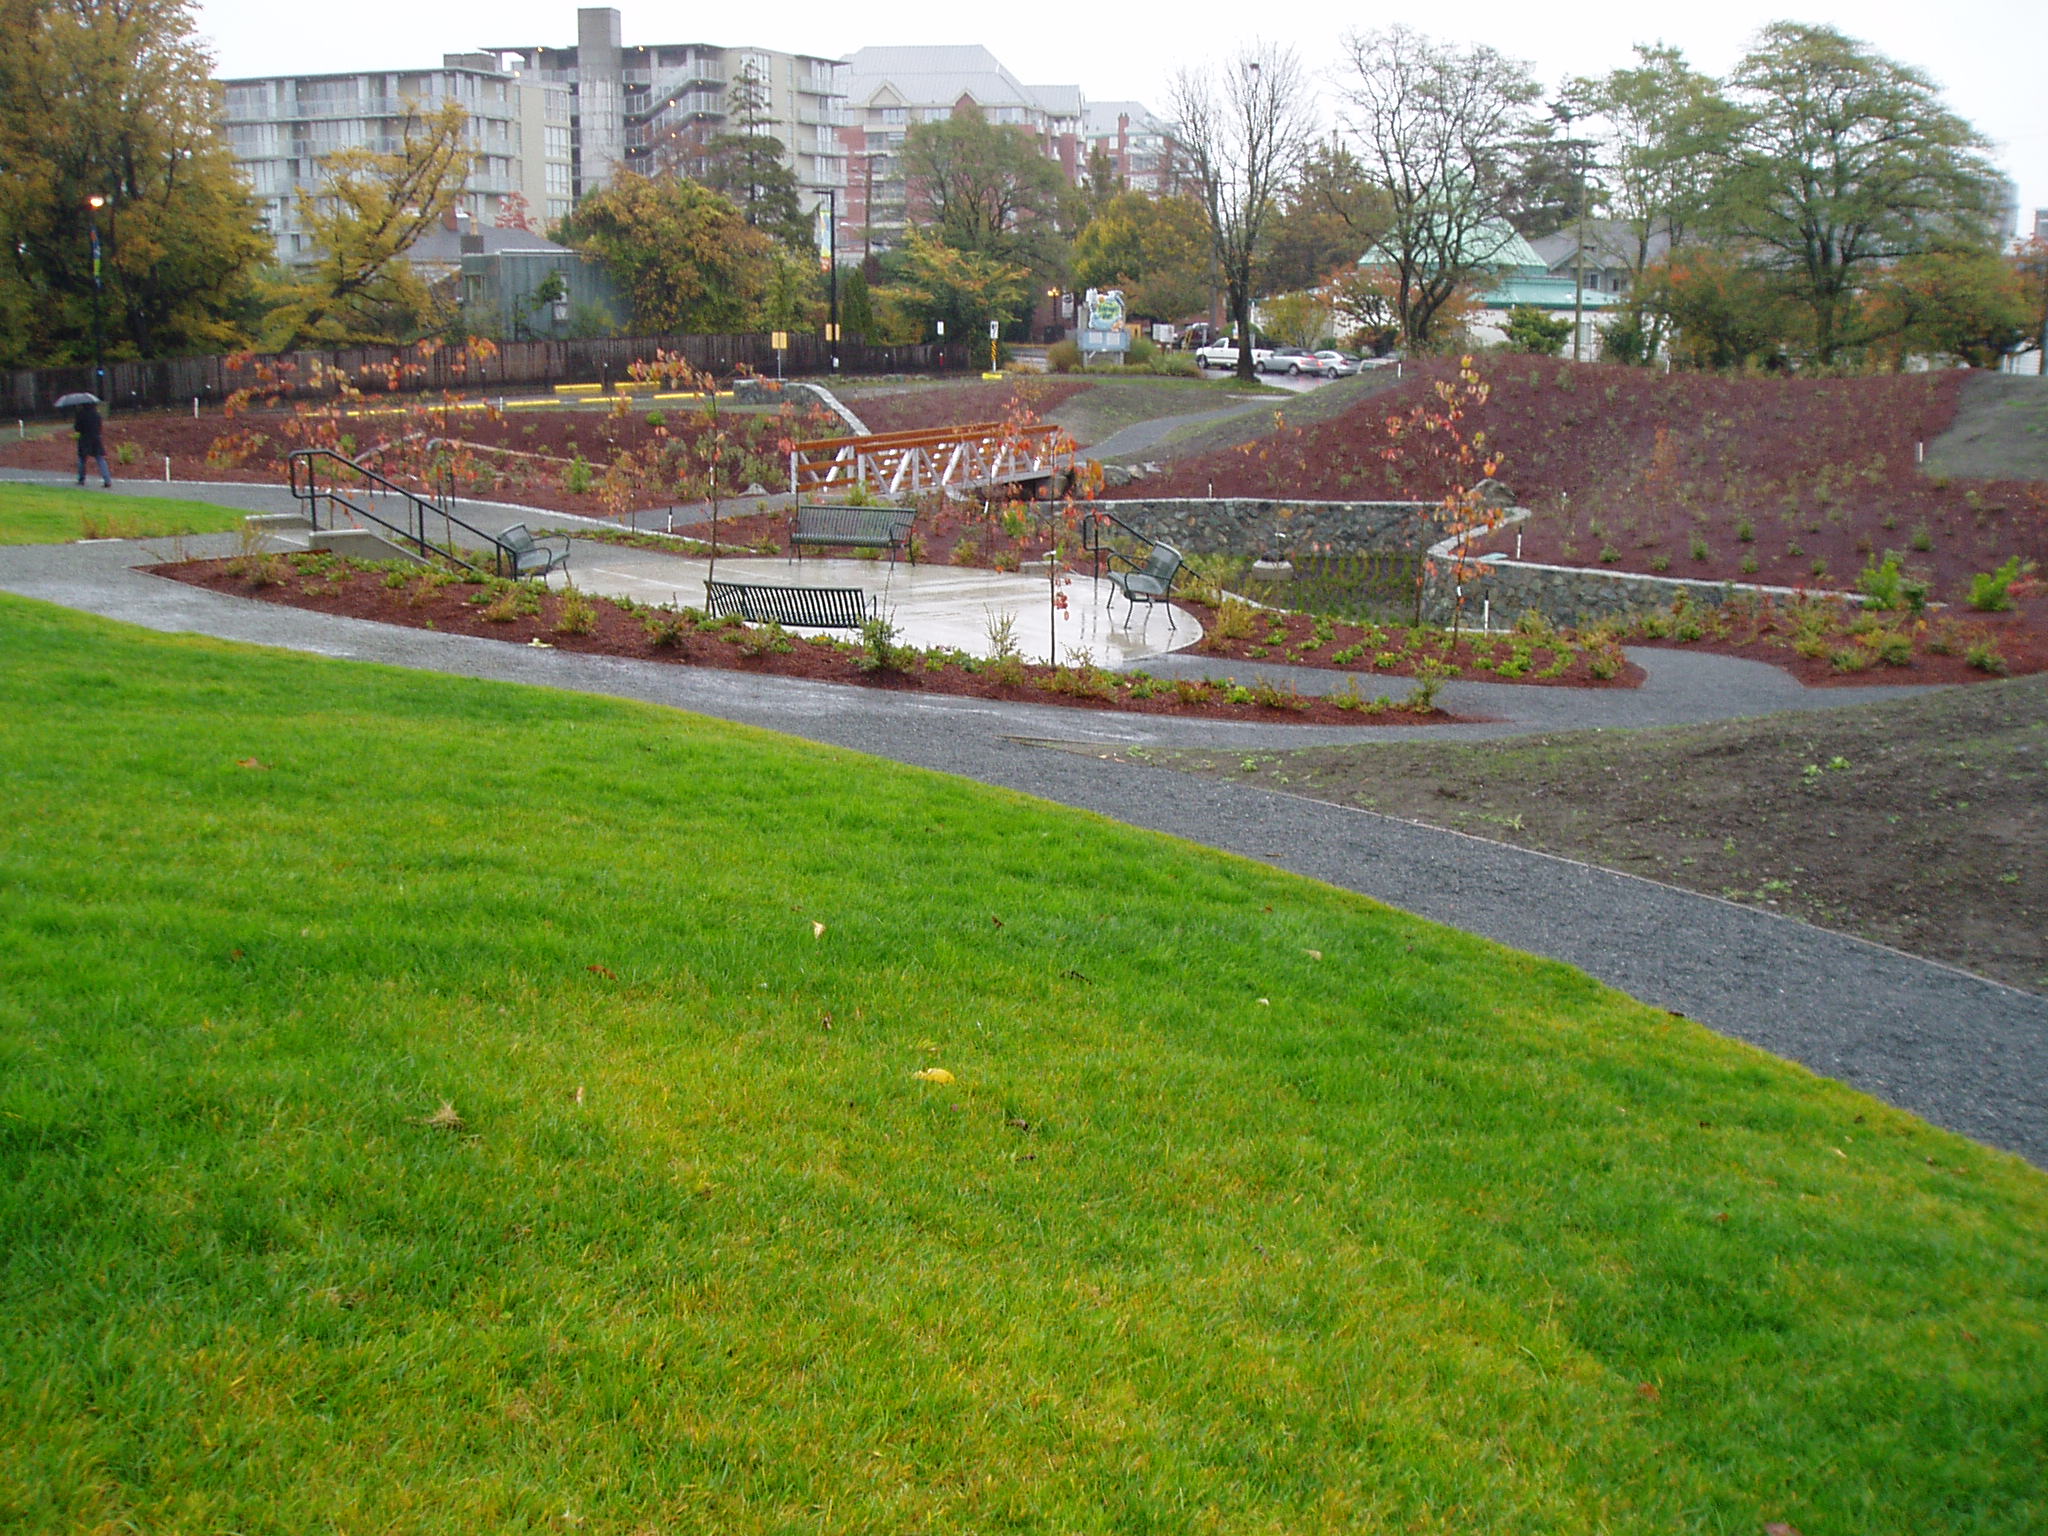
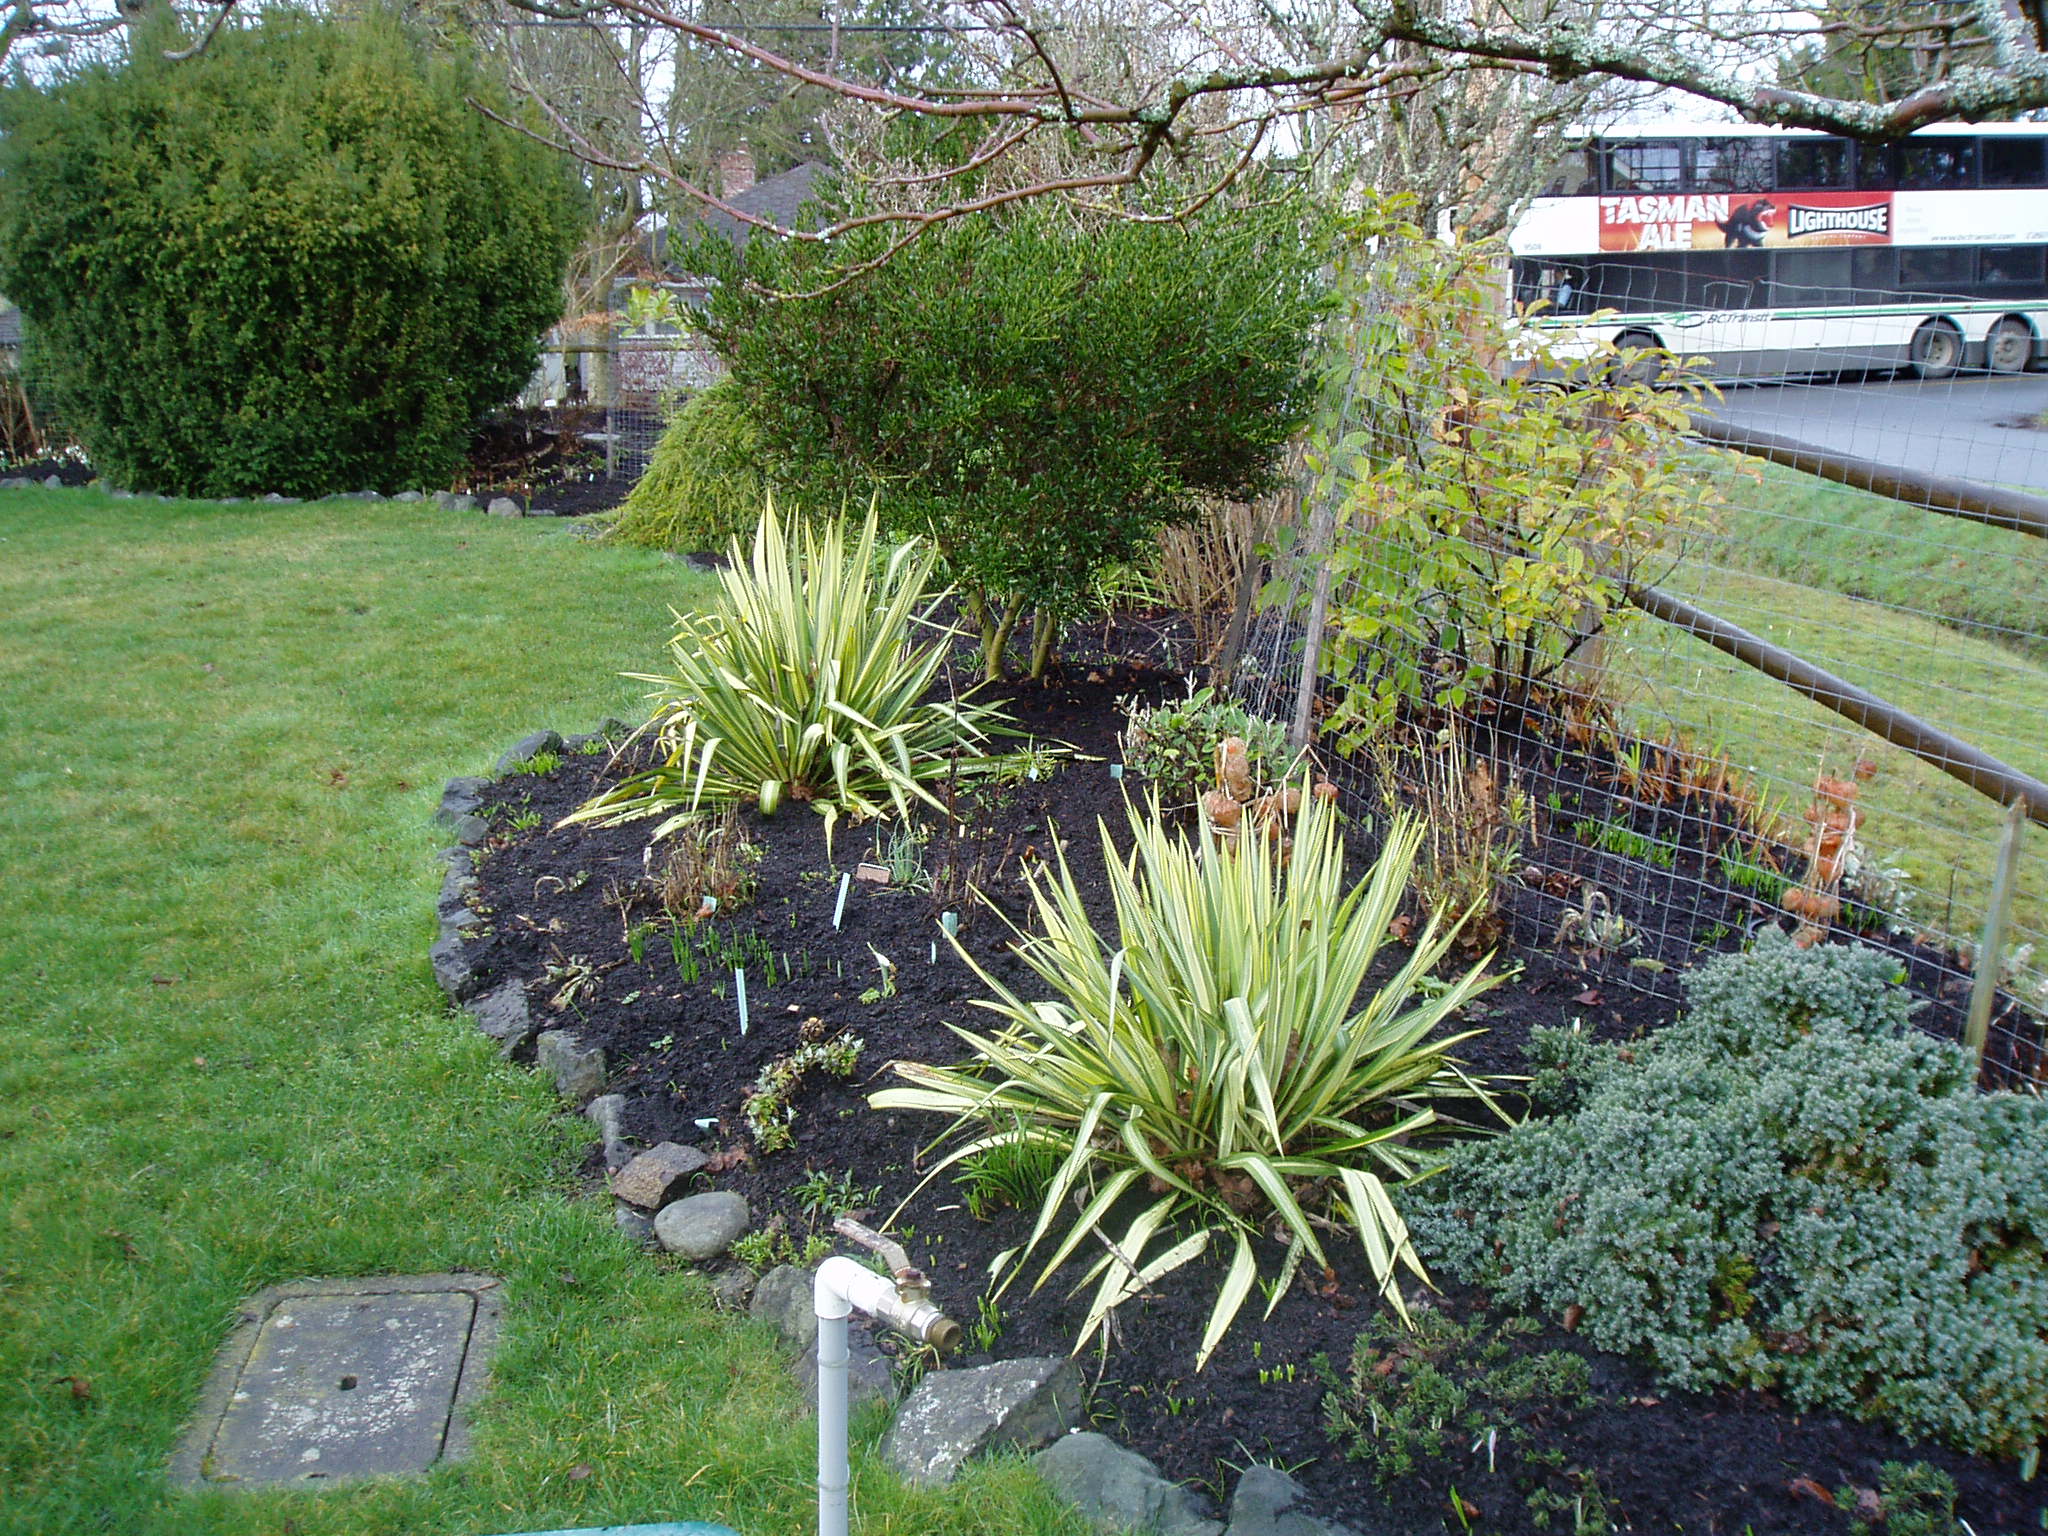
That’s why I’m excited to compare the changes of the Fisherman’s Wharf Park after its 1st birthday.
Careful plant selections of natives & non-local species provide potential for a low maintenance park.
As any new transplants need regular watering until established, Victoria Parks department installed irrigation into the beds.
The plants, trees & shrubs prospered. The water requirements will diminish as the beds mature.
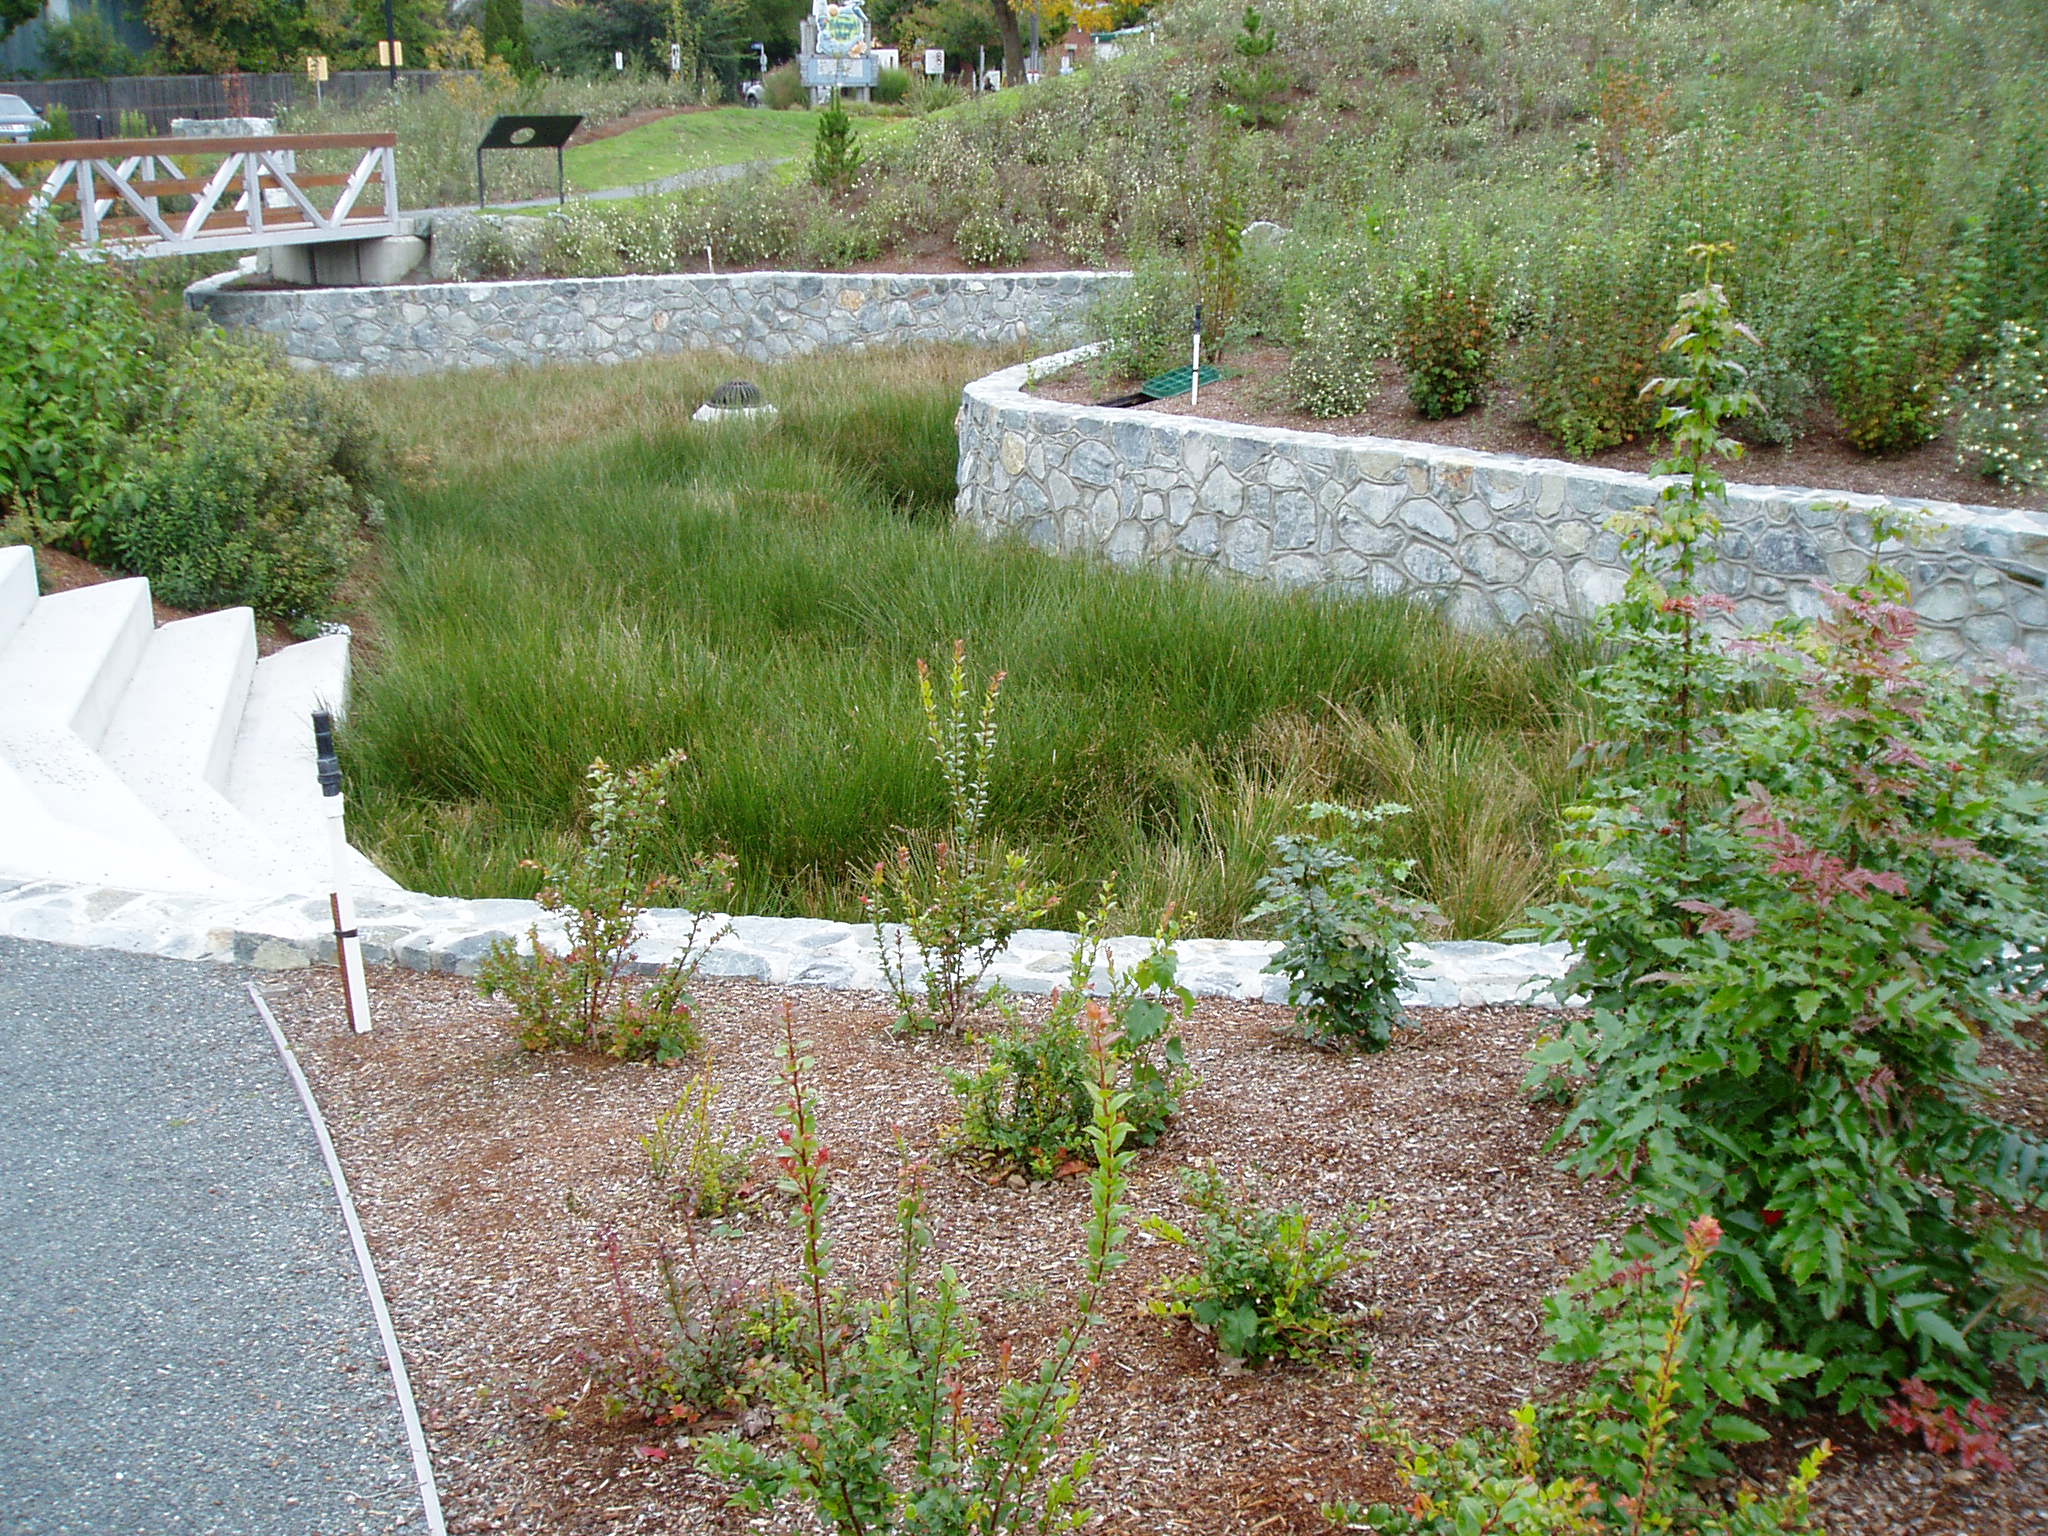
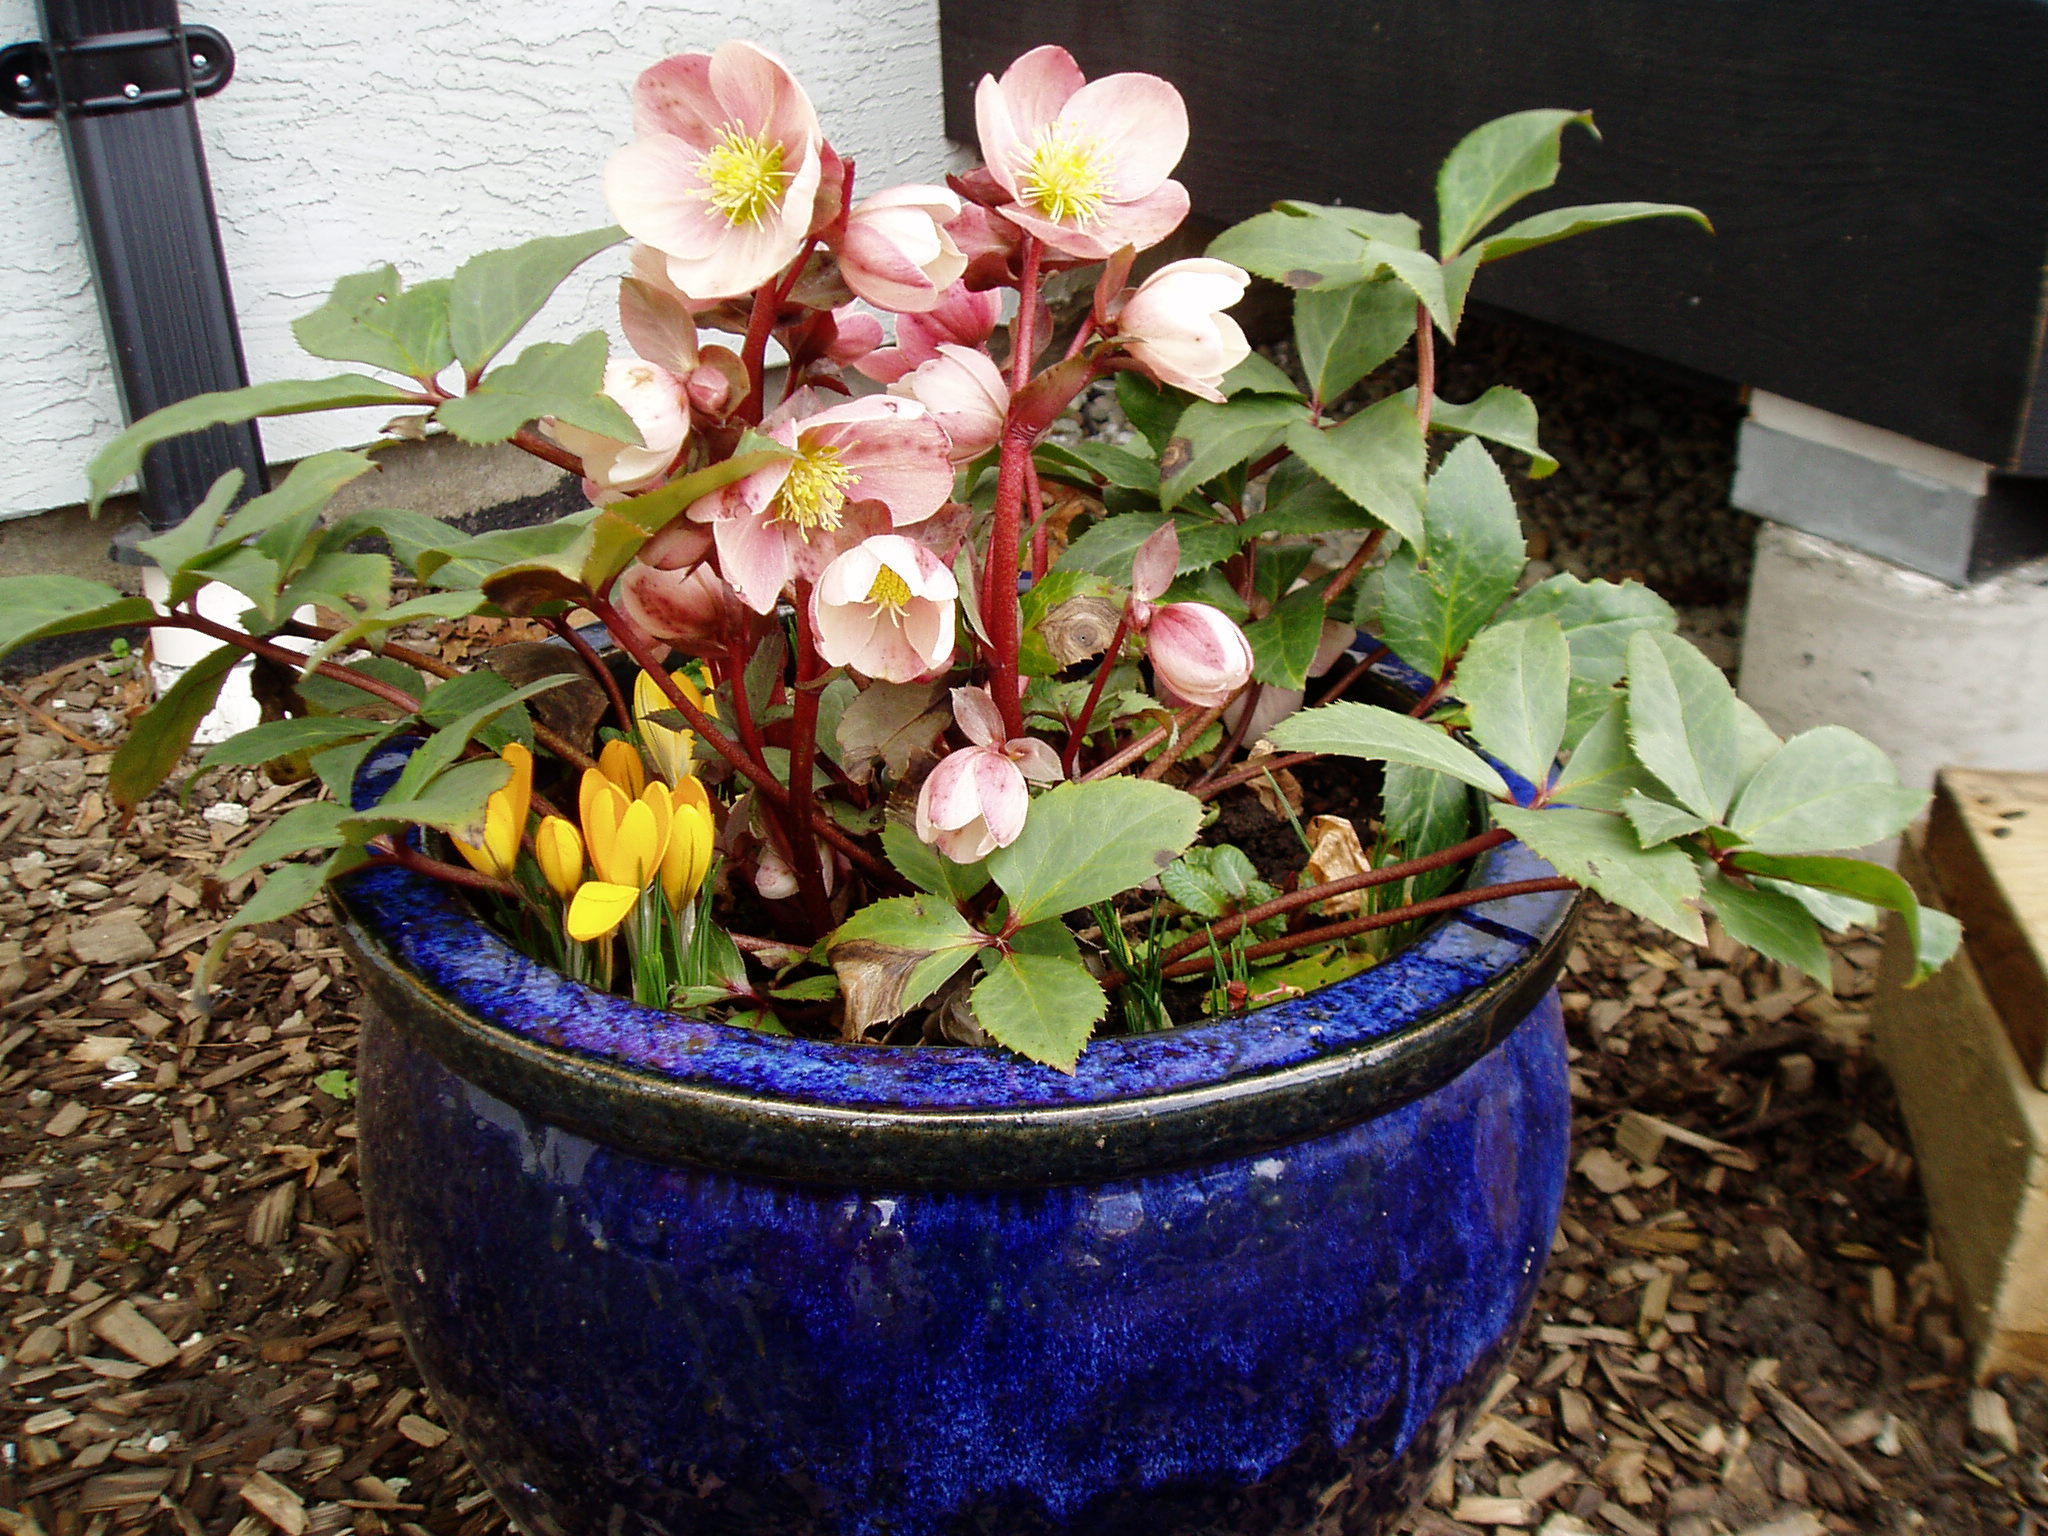
The holding pond of the rain garden is coming into its own.
BEFORE (photo by SVSeekins)AFTER (photo by SVSeekins)
For the past year, rain has been redirected from the neighboring parking lots & streets, and into the catchment pond.
Check out the height of the drain. It shows how deep the pond will get before overflowing into the storm drain system. Any standing water is filtered by the rain garden. It returns to the natural water table, instead of being sent to out to sea.
These plants / filters sure don’t look any worse for wear, considering they clean up any of the runoff’s pollutants. Isn’t science & nature groovy?
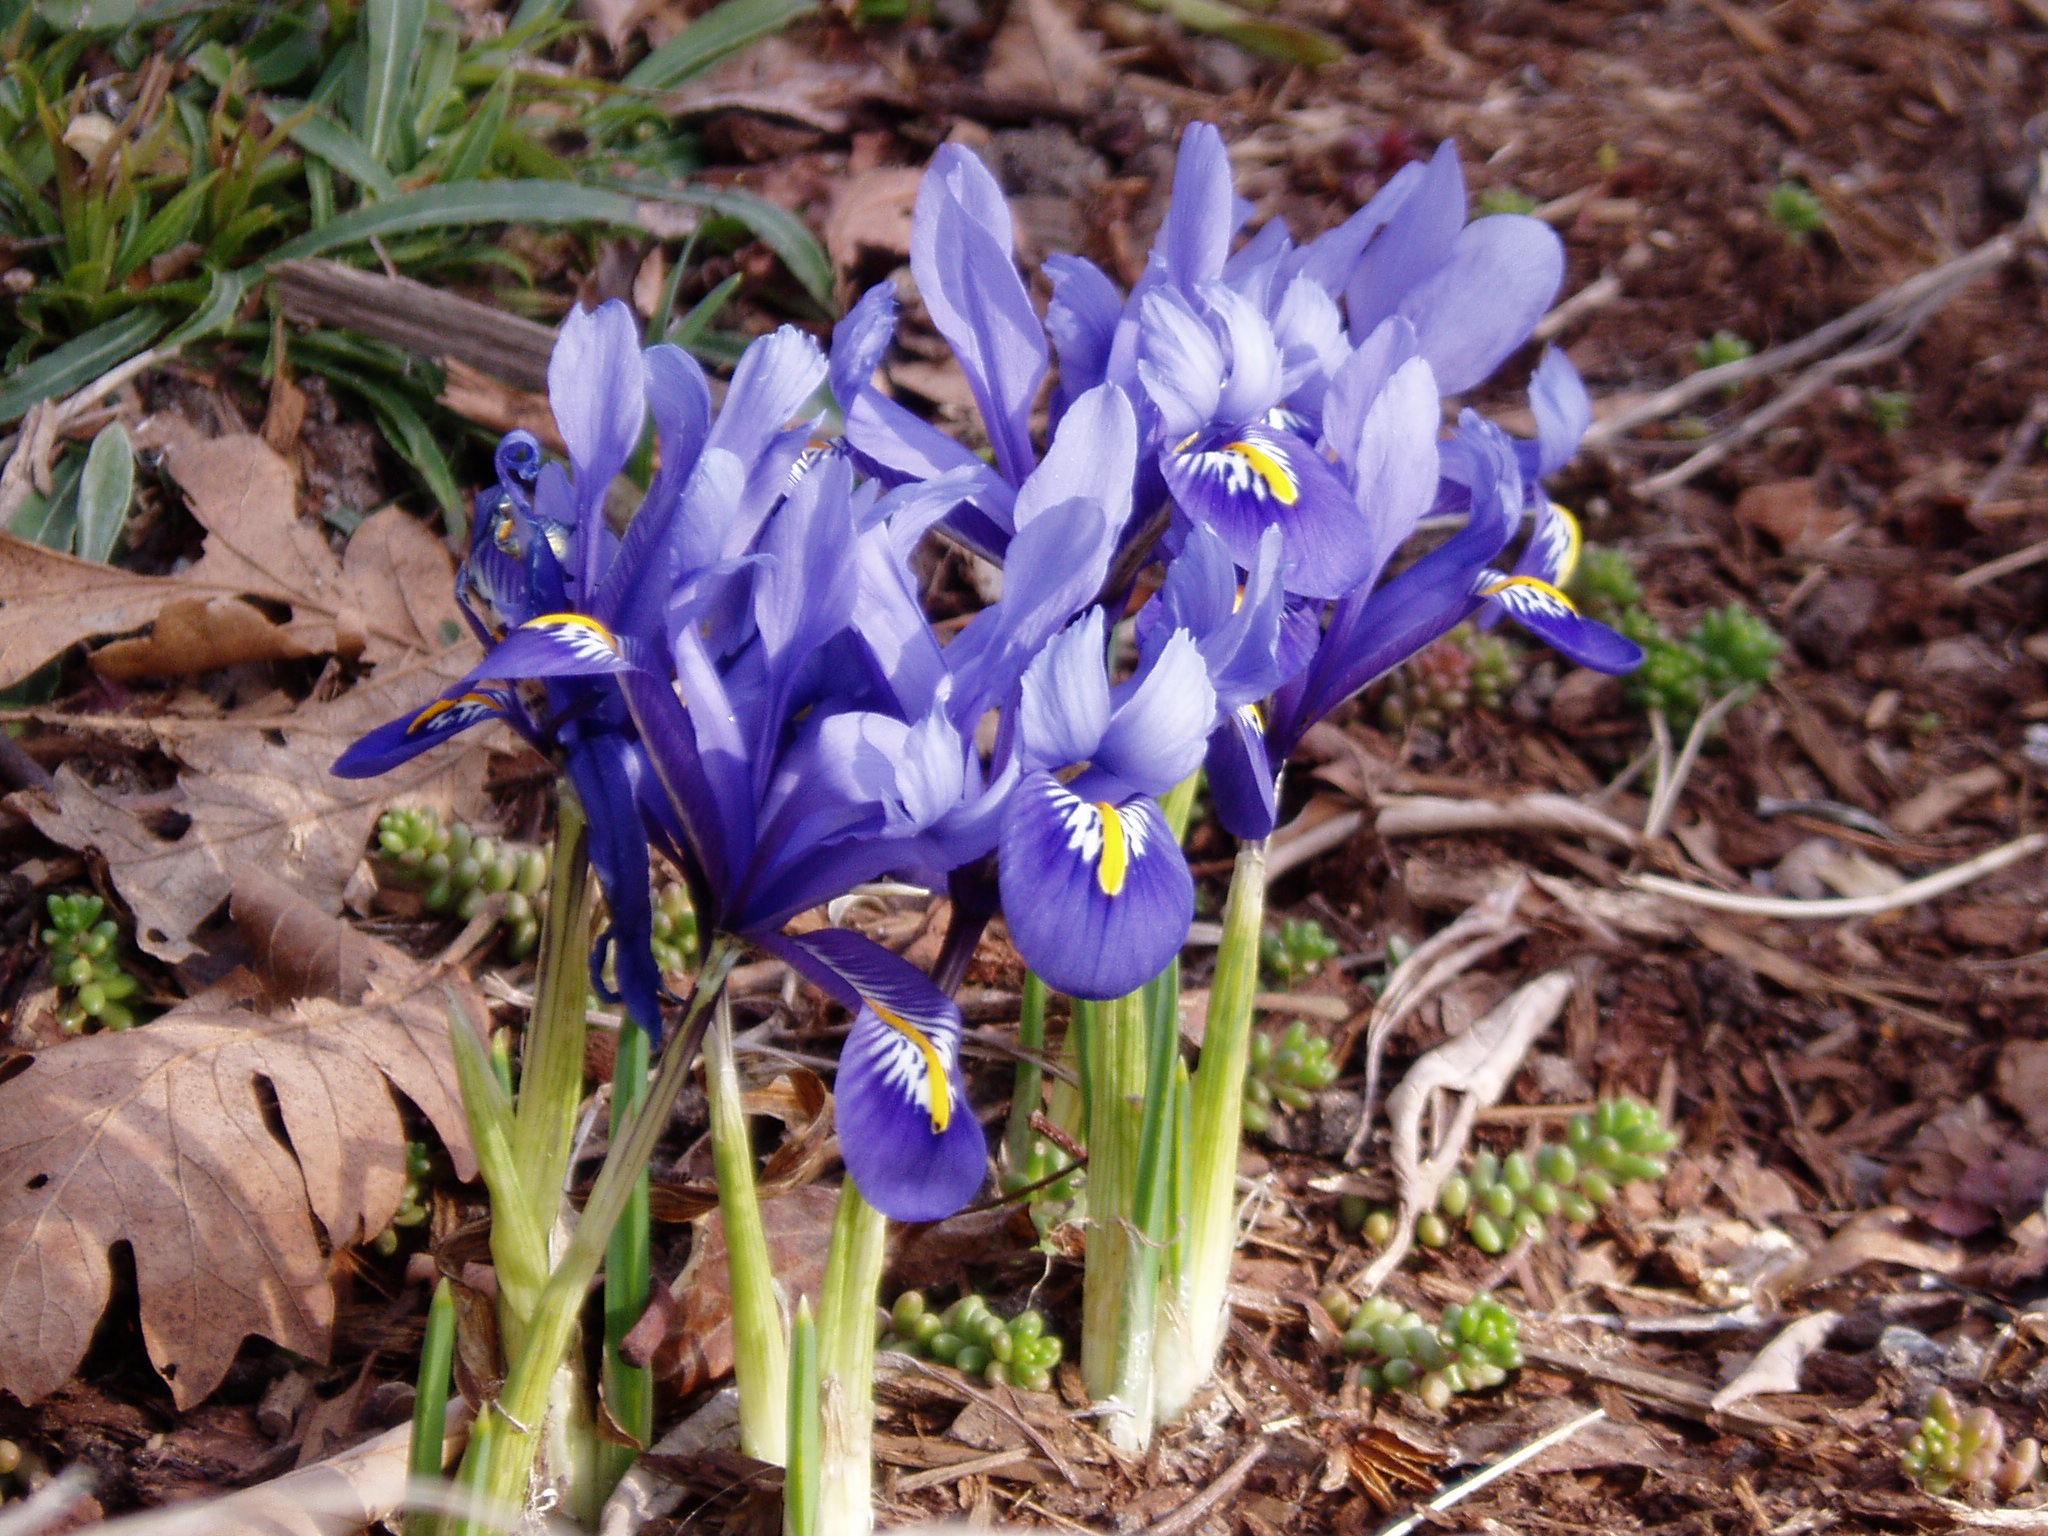
BEFORE (photo by SVSeekins)AFTER (photo by SVSeekins)
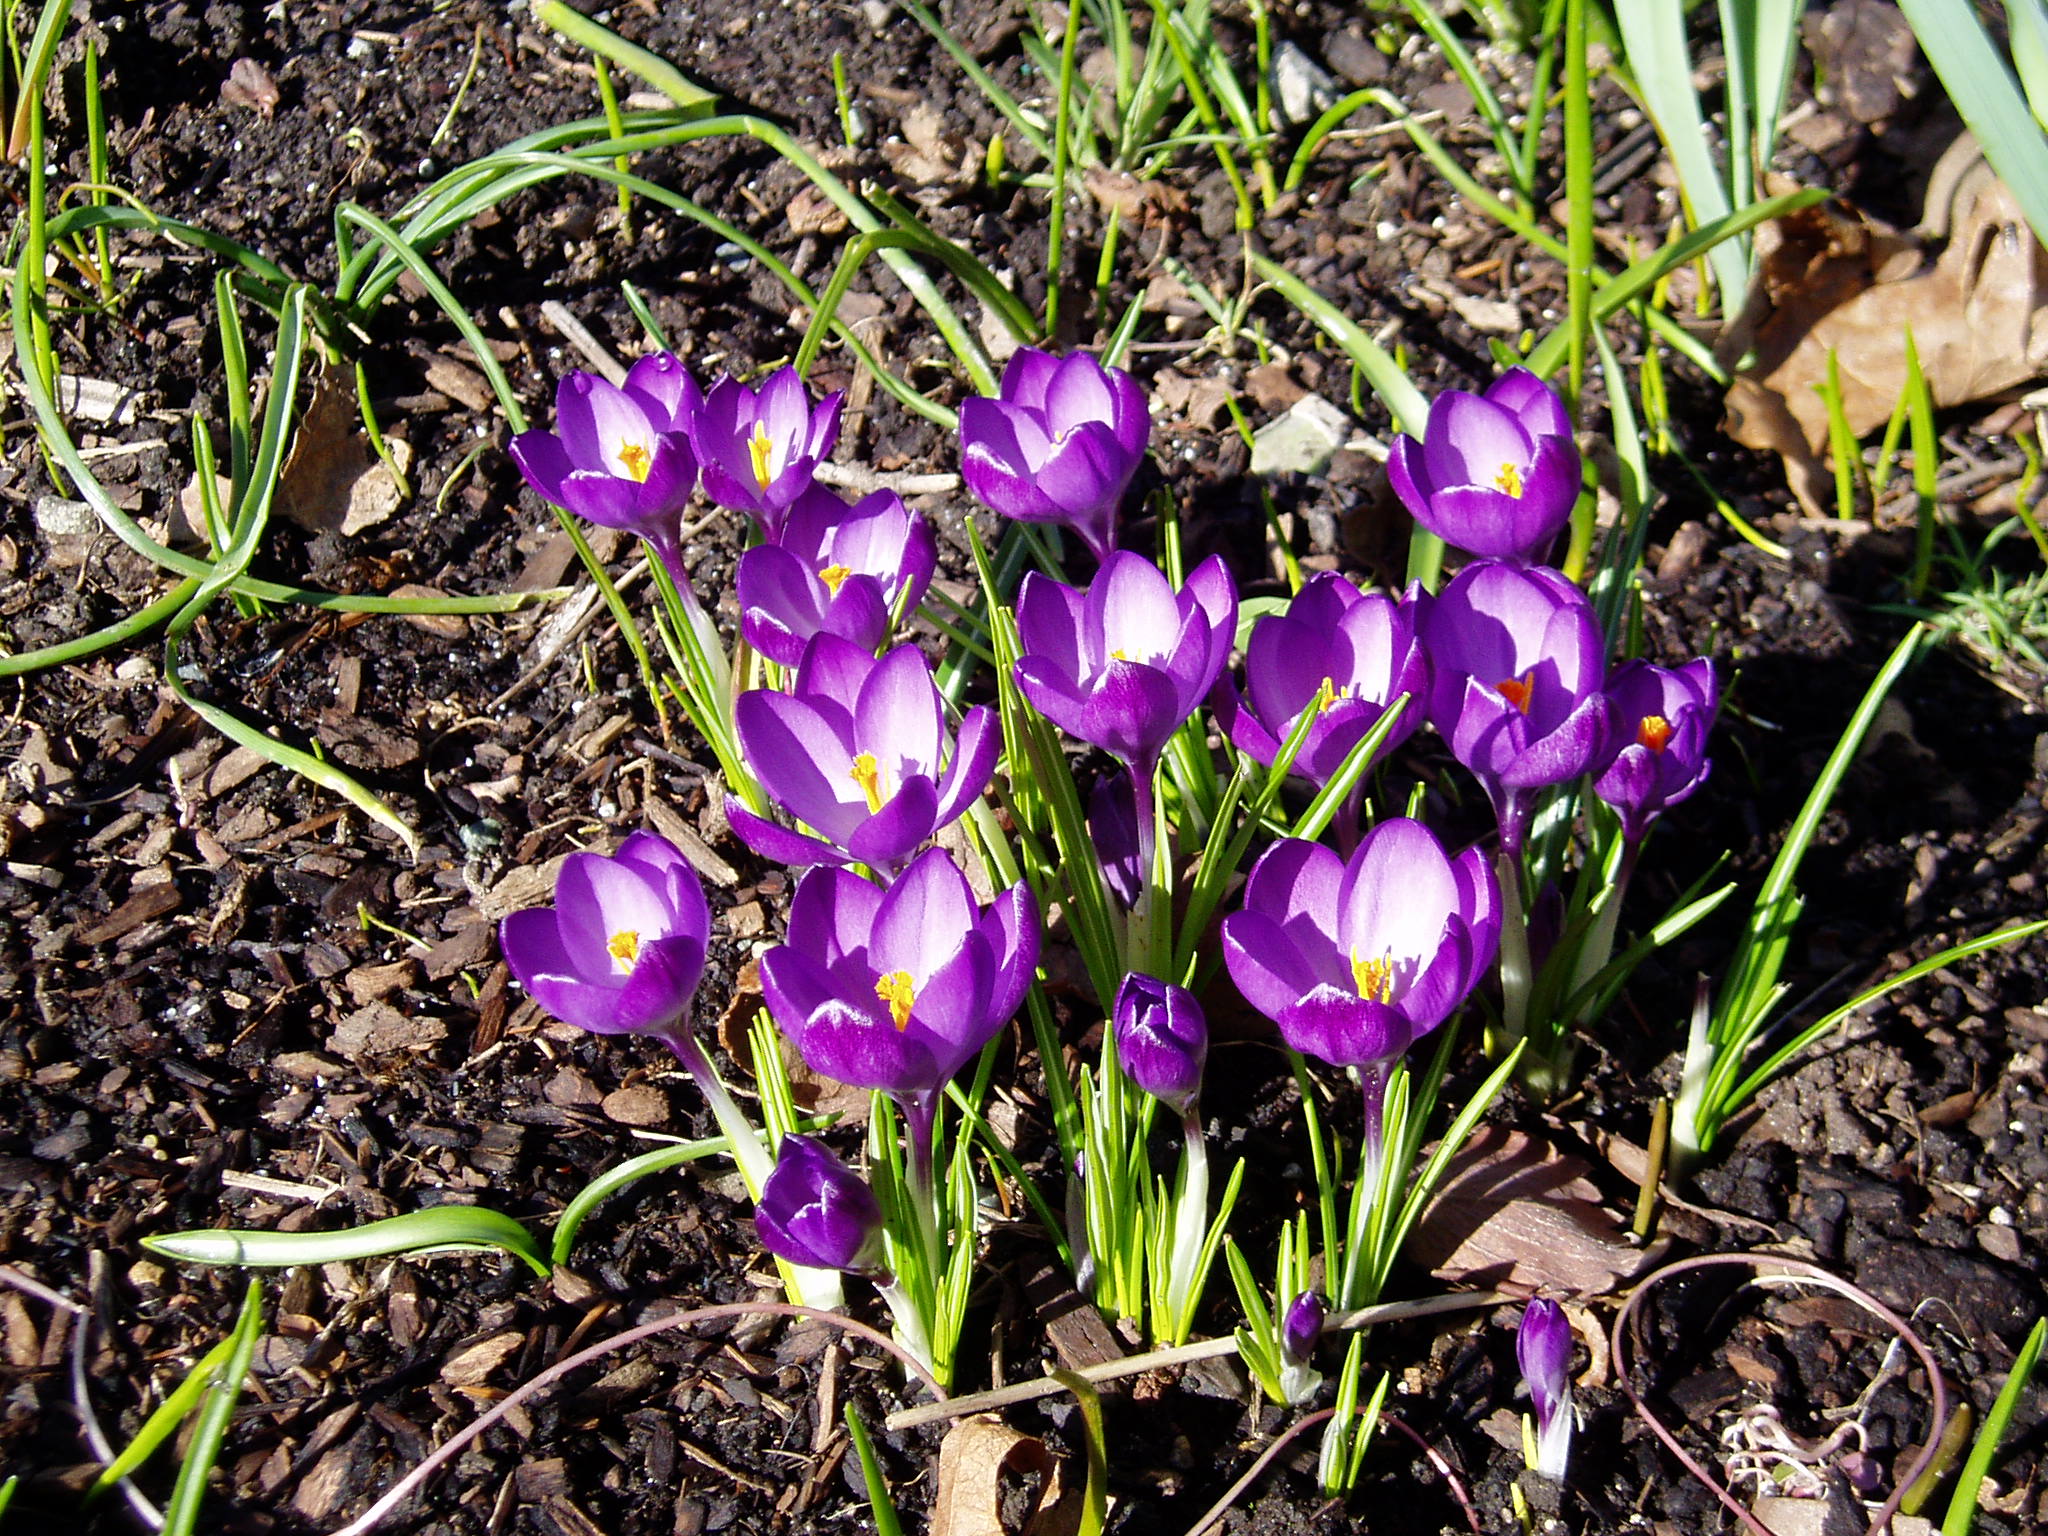
It’s easy to LOVE February! The crocus bloom is a Valentines gift I treasure 🙂
Tools
It really feels like the beginning of a new season for me. I like to start fresh, so now’s the time to tidy up the garden shed. Gather up all the tools. Scrub off any debris or soil. Wipe wooden handles with some oil to strengthen & lengthen their lives. Sharpen & oil pruners, shears and hedge clippers making sure they’re rust-free.
photo by SVSeekins
Pruning
Summer blooming Clematis (Jackmanii, Earnest Markham, and Tangutica), the ones that flower on wood grown this year, should be cut almost to the ground, down to 4 to 6 buds.
For a tidier spring look, shear epimediums before they send up their delicate flower shoots… St. John’s Wort (groundcover) can also be sheered to 2 inches.
Prune summer-flowering shrubs like Buddleja davidii, Spiraea japonica, Hypericum forrestii and hardy Fuchsia. They benefit from cutting down hard in mid-late February. Go crazy & copse the Red Twigged Dogwood.
Hydrangea is another summer-flowering shrub to prune now that the buds are showing… but be a little more delicate than a ‘copse’.
Tree peony flower in the spring, but by now we can see the buds swelling & know which branches died off through winter, so prune away.
When I’m feeling very tidy I’ll also cut back the evergreen sword ferns that are now at their most ragged. They’ll soon be sporting fresh new growth & it’s kinda fun to watch it unfurl.
DON’T PRUNE spring-flowering shrubs like Forsythia, Clematis montana, Spiraea x arguta, Buddleja globosa, Viburnum tinus, and Ceanothus burkwoodi now. They flower on stems produced after last spring’s flowering, which have ripened over the summer.
photo by SVSeekins
Fertilizing
distribute a handful of lime & bone meal beneath Clematis, Lilac, Hydrangea, Flowering Red Currant, Peony, Mock Orange, Sedum, Spirea & Aubretia
sprinkle tomato food onto areas where spring bulbs grow
photo by SVSeekins
Watering
Check any plantings under large overhangs for soil moisture. These areas can get very dry over winter. They don’t need a lot of water but enough to survive
photo by SVSeekins
Perennials
If they’re outgrowing their space, most late-blooming, hardy perennials can be lifted and divided now.
Cut the tops back to a couple of inches.
Lift the whole plant out with a fork.
Look for a natural line across the plant and cut it with a sharp knife right through.
Continue this until you have divided the plant up to suit your needs.
Replant the pieces in groups of 3-5 to make an impact in ornamental borders from repeating colour schemes.
Pot up spares immediately.
Water well.
photo by SVSeekins
Lawns
Looking over the front yard, we seem to have a few blades of grass growing in our moss patch. Moss control can be applied in February, but remember it requires 2 full days without rain. (Good luck with that 🙂
The recommended type of moss control is a product that has fertilizer + ferrous sulfate (iron). Something with NPK numbers of 9-3-6 greens the lawn for about 30 days after the moss has been killed. Dolomite lime should be applied about 2 weeks after the moss kill.
If the lawn isn’t too wet & grass is growing, give it an early cut.
photo by SVSeekins
Veg & Berry Patch
Start early plantings providing the soil isn’t saturated. Sweet Peas, Broad Beans, Spinach, Radishes, Green Onions, Chives, Clarkia, Poppies, and Flax will all germinate in the cool weather
Start Asian Greens and Radishes under row covers.
Buy seed Potatoes now and store the tubers in a light, cool (10°C), frost-free spot and leave them to sprout. This is known as chitting. Egg cartons make good chitting trays. Make sure you put the tubers with the ‘eye’ end ( where the sprouts will grow from) upwards.
Dig in over-wintered green manures such as Winter Rye.
Top dress’ over-wintered crops, such as autumn planted Onions, Broad Beans, and Spring Cabbage, to give spring growth a boost. Use a good rich garden compost or organic fertilizer.
To help the soil warm up more quickly, pull back any organic mulches, then cover with clear or black plastic. Put these in place a couple of weeks before sowing.
photo by SVSeekins
Greenhouse & Cold Frames
Tidy up & sterilize thoroughly (even glass) before starting new plants. Remove all traces of last year’s problems rather than putting new plants at risk.